Sprinkles of Life for the Happy Stampers Blog Hop – Stampin’ Up!

NEW Blog Hop Header
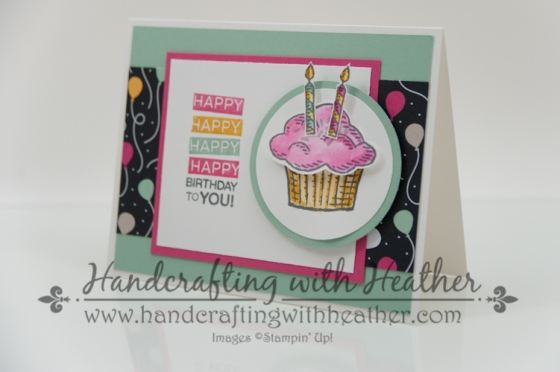
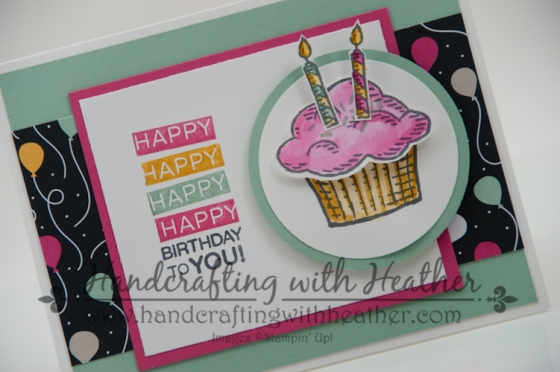
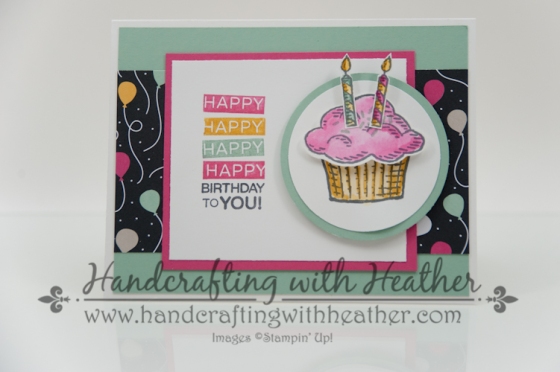
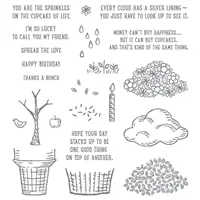
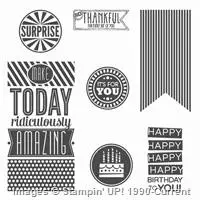
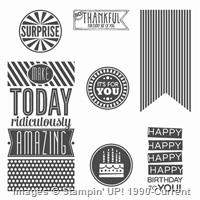
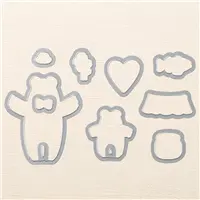
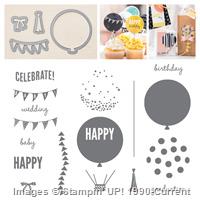
The Happy Stampers are back with a new color challenge!  My card share today features the Sprinkles of Life stamp set from Stampin’ Up!  I’m always in need of cute cards for all the birthday parties my son gets invited to, and this project fits the bill.  I love how the stamp set coordinates with the Tree Builder Punch too!

2016-jan-feb-blog hop-3

01282016 color challenge

Did you know that by ordering the Sprinkles of Life stamp set from Stampin’ Up! you can create fun projects and make a difference at the same time?  When you buy the Sprinkles of Life stamp set, Stampin’ Up! donates $3 to Ronald McDonald House Charities.  The set can be found on the inside back cover of the 2015-2016 Annual Catalog.

2016-jan-feb-blog hop-4

Can you believe one stamp set can be used to create clouds, trees, cupcakes, ice cream cones, or even a basket of flowers… that’s one versatile tool!

Card Recipe and Tips:

Card Base: Whisper White Thick Card Stock – 5-1/2″ x 8-1/2″, scored and folded at 4-1/4″

Layers: Mint Macaroon 4″ x 5-1/4″, It’s My Party DSP 2-3/4″ x 5-1/4″, Melon Mambo 3-1/4″ x 3-3/4″, Whisper White 3″ x 3-1/2″

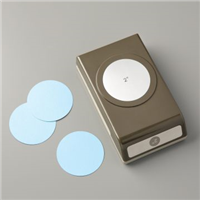
Art Piece: Whisper White 2″ Circle Punch, Tree Builder Punch & Candles, Mint Macaroon 2-1/2″ Circle Punch

  • Stamp the images on Whisper White card stock in waterproof ink.  Choices are Archival or StazOn Black (I used Basic Gray Archival for a softer image).
  • I used the lids of my ink pads and my aqua painter to add the color to the cupcake and candles.
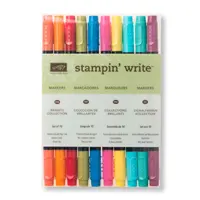
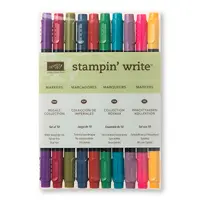
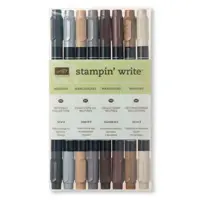
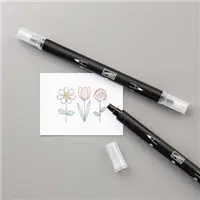
  • I used Stampin’ Write Markers to color the sentiment.  Don’t forget to “huff” on the stamp to remoisten the ink before stamping.  Press down firmly for a clean image and good ink coverage.
  • I used Stampin’ Dimensionals to give the cupcake a little extra dimension and interest.
  • I fussy cut the candles with scissors.

2016-jan-feb-blog hop-2

Doing this blog hop has been a lot of fun.  Click the button below to check out what Sandi MacIver has created for you today on the next stop of the journey.

Blog Hop Next Blog

If you happen to get lost, or want to go back and check out one of the posts, here is a list for you – and don’t forget to leave a little sweet comment on each blog.  We love to hear from you!

I hope you will consider selecting me as your demonstrator for your stamping needs.  If you need any supplies you can shop now in my online store!  Feel free to drop me an email if you have any questions or if you would like a catalog.  I’m here to help!

Happy Stamping!

Heather

  • Visit my online store here.
  • Shop the Clearance Rack here.

Stampin’ Up! Supplies Used for Today’s Project

If you would like to order any of the products featured in today’s project, click the images below to order from my online store.

Supply List

Built for Free Using: My Stampin Blog


Handcrafting with Heather Creativity Clubhouse

Creativity Credit copy

Don’t forget about my customer loyalty program when you place your orders.  I’m offering double Creativity Credits during Sale-A-Bration!  Click here to read more about the Creativity Credits program, my buyer reward program where you earn free Stampin’ Up! merchandise.

Let me know if you have any questions, have fun shopping!

Jan. 25 – Feb. 25 Hostess Code: 9KHWRZ79

Use this hostess code when you order and receive a set of rhinestones from me!  If your order is over $150, please do not use this code, but you’ll still get the free gift.


Weekly Deals From Stampin’ Up! January 26-February 1st

Click the images below to order the weekly deal products from my online store.  The Weekly Deals are only while supplies last and only available at these great prices through February 1st.

Supply List

Built for Free Using: My Stampin Blog

Happy Stampers Birthday Card Blog Hop – Stampin’ Up!

The Happy Stampers are back today with a Blog Hop that is all about Birthdays!  I have created three projects for you today featuring the Celebrate Today stamp set from Stampin’ Up! and the Hello You Thinlits Dies.

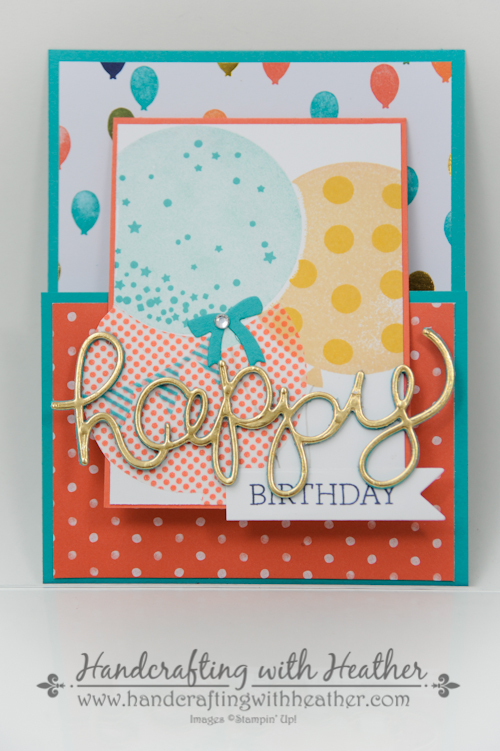
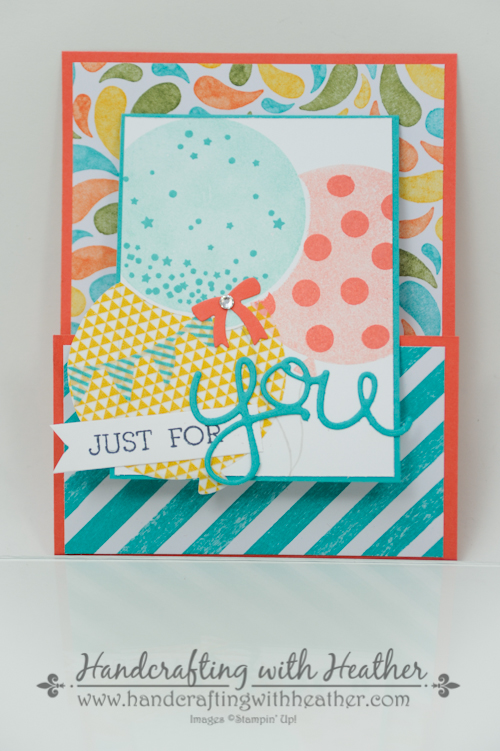
Celebrate Today Joy Fold (2 of 16)My projects today are made using the “Joy Fold” technique.  I have been having a great time with this fold lately.  It is a wonderful way to use your Designer Series Paper for a great impact with not too much effort.  The cards today feature the Birthday Bash Specialty DSP, which I am totally in love with!

Celebrate Today Joy Fold (8 of 16)

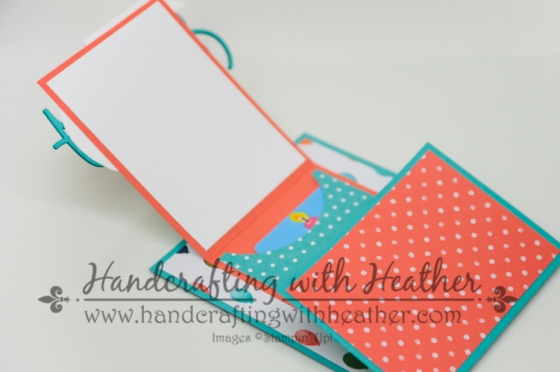
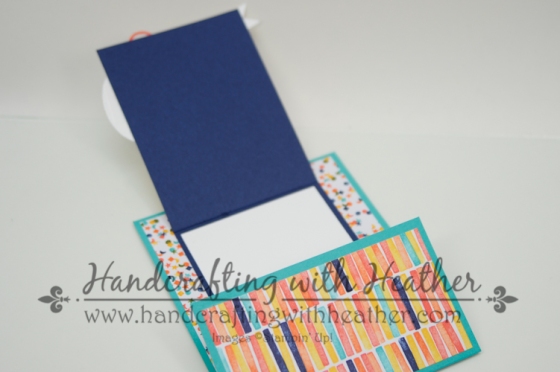
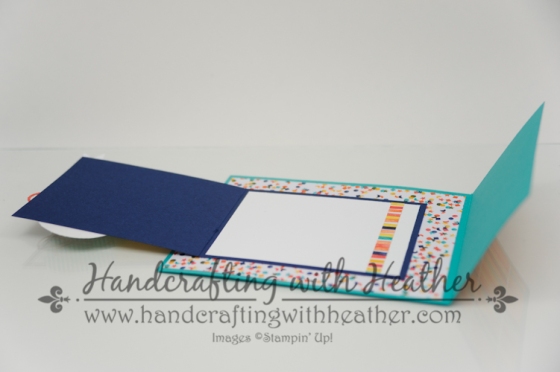
This picture shows you how the Joy Fold card opens up.  when it is closed, the card just looks like a series of layered panels, but when you open it up, you see that the fold is a bit special.

Celebrate Today Joy Fold (16 of 16)

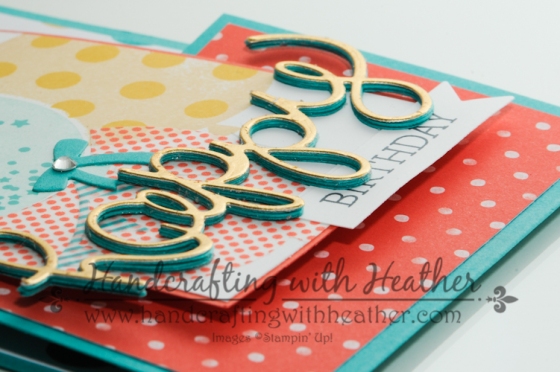
Another product that I love is the Hello You Thinlits Dies.  For my first card I wanted to pull in a little gold to match the gold balloons in the DSP.  I cut the “happy” die  from the Hello You Thinlits five times (4 Bermuda Bay & 1 Gold Foil) and layered them for a three dimensional element.

Celebrate Today Joy Fold (10 of 16)

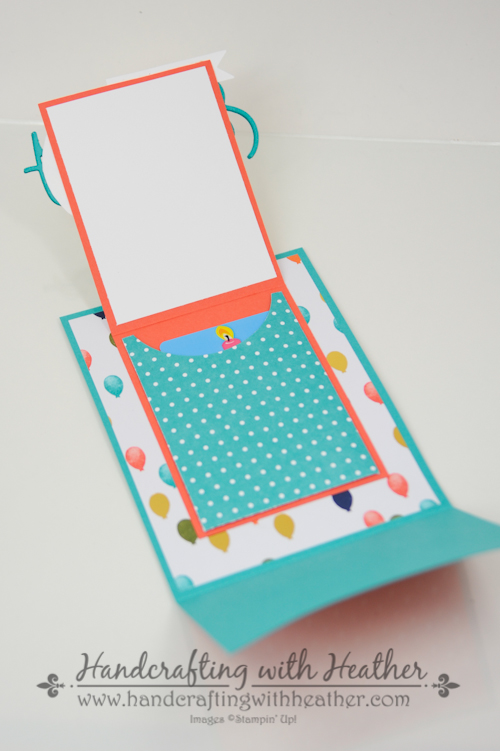
On the inside of the card, I created a little pocket for a gift card!  Isn’t that just too cute!  And, there’s still plenty of room for a little birthday message on the top flap of the card.

Celebrate Today Joy Fold (1 of 16)

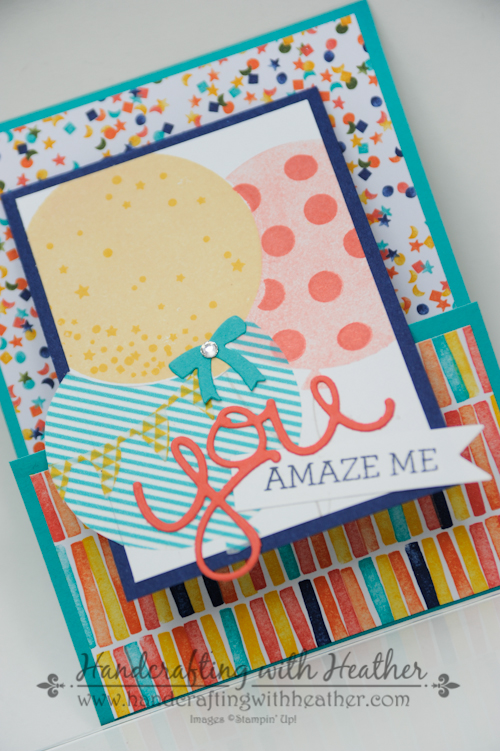
My next two projects are variations on the same theme.  I used the Celebrate Today stamp set and Balloon Framelits Dies to create the front of each card.  Two of the balloons are stamped directly on the card stock using the masking technique, and the third is die cut from the Birthday Bash Designer Washi Sheets.  I played around with variations of the Hello You Thinlits and the Crazy About You  stamp set for the sentiments on each card.

Celebrate Today Joy Fold (4 of 16)

I used different variations of the Birthday Bash Specialty DSP for each card to give them slightly different looks.  For this card, I left the inside blank instead of including the gift card pocket.

Celebrate Today Joy Fold (13 of 16) Celebrate Today Joy Fold (14 of 16)

Of course, a blog hop wouldn’t be complete without some blog candy!  One lucky reader who leaves me a comment will receive the Cute as a Button Simply Sent Kit. The kit comes with everything you need to make 8 cards!  The buttons and ribbon are just adorable.

To enter to win, leave me a comment telling me about your favorite Stampin’ Up! item for creating birthday cards.  I will announce the winner in my Tuesday Updates post on March 3rd!  Good luck, I can’t wait to hear your comments.

I hope you have enjoyed my projects today and that you will pin them to Pinterest.  You will find a “pin it” button at the bottom of this post below the supply list.  Also, please subscribe to my blog via email by clicking on the “follow” button if you are a fan of my work, and don’t forget to leave me a comment for your chance to win that great blog candy!

Doing this blog hop has been a lot of fun.  Use the arrow buttons below to check out what Amy Koenders has created for you today on the next stop of the journey.

If you happen to get lost, or want to go back and check out one of the posts, here is a list for you – and don’t forget to leave a little sweet comment on each blog for your chance to win blog candy!

I hope you will consider selecting me as your demonstrator for your stamping needs.  If you need any supplies you can shop now in my online store!  Feel free to drop me an email if you have any questions or if you would like a catalog.  I’m here to help!

Happy Stamping!

Heather

  • Visit my online store here.
  • Shop the Clearance Rack here.

Handcrafting with Heather Creativity Clubhouse

Creativity Credit copy

Don’t forget about my customer loyalty program when you place your orders.  I’m offering double Creativity Credits during Sale-A-Bration!  Click here to read more about the Creativity Credits program, my buyer reward program where you earn free Stampin’ Up! merchandise.

Let me know if you have any questions, have fun shopping!

February 17 – March 9 Hostess Code:  ESHUZ7TG

Use this hostess code when you order and receive a set of rhinestones from me!  If your order is over $150, please do not use this code, but you’ll still get the free gift.


New Weekly Deals From Stampin’ Up! Feb. 24 – March 2

Click the images below to order the weekly deal products from my online store.  The Weekly Deals are only while supplies last and only available at these great prices through March 2nd.


Stampin’ Up! Supplies Used for Today’s Project

If you would like to order any of the products featured in today’s project, click the images below to order from my online store.

Price: $4.95

Supply List

Built for Free Using:  My Stampin Blog

Flip Card Using Framelits and Blooming with Kindness – Stampin’ Up!

As you can tell, I am in love with the Blooming with Kindness stamp set (wood mount and clear mount) from Stampin’ Up!  This is my second card in a week that features that beautiful flower!  I just think it is so pretty and elegant.  In addition to the lovely flower, this card also uses the Circles Collection Framelits Dies to create great flip card effect.  This was a brand new technique that I learned from fellow Stampin’ Up! Demonstrator, Brandy Cox.  If you love the flip card effect, I have included a link to Brandy’s tutorial at the bottom of this post after the supply list.

Blooming with Kindness - Gray9

This card is my submission for Splitcoast Stampers Clean and Simple Challenge #262: Neutrals.  Please leave me a comment to let me know what you think of this creation.  I would love to hear from you.  On March 31st, I will do a drawing and one lucky person who left me a comment will receive a beautiful handcrafted card in the mail!  Also, if you enjoy reading my posts, why not have them delivered to your inbox automatically.  Just click on the “follow” button in the sidebar.

Blooming with Kindness - Gray6

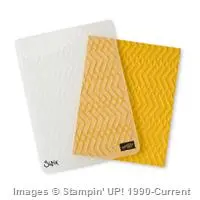
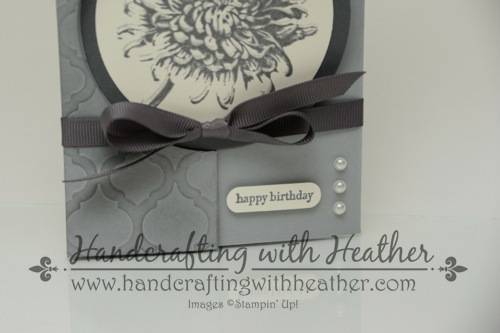
I love the flip card design, but I wanted to be able to write on the inside of my card without having it visible when the card was closed.  Therefore, I extended the length of my card base to make a tri-fold style flip card.  I began with a Smoky Slate card base (5-1/2″ x 11″) which I scored at 2-1/8″, 4-1/4″, and 8-1/2″.  I followed the instructions in Brandy’s video tutorial to cut half of a circle on the front of my card using the the third largest Circle Framelits Die (counting from the outside in toward the middle).  Then I dry embossed the front of my card using the Modern Mosaic textured impressions embossing folder and my Big Shot.  Next, I folded back the front flap, created with my framelits, and used a sponge dauber to apply ink from my Smoky Slate Classic Stampin’ Pad to the left side of my card.  I wanted to pick up the detail of the embossing and provide some contrast on the front of my card.  I used a scrap piece of card stock to cover the parts of my card that I did not want affected.

Blooming with Kindness - Gray4

For the focal point of my card, I stamped the flower from the Blooming with Kindness stamp set onto Very Vanilla card stock using Smoky Slate ink.  I wanted to stamp the flower twice, overlapping the two images to provide depth, but I have found that this works best when the first image is very light.  Therefore, I inked up my stamp and stamped it onto a scrap piece of card stock before stamping it on my Very Vanilla panel.  Then I used my Stamp-a-ma-jig to stamp the image a second time using my Basic Gray Classic Stampin’ Pad.  I offset the two images just slightly.  This gives the flower the illusion of depth and really makes it pop!
Blooming with Kindness - Gray3

Once my flower was complete, I used the fourth largest Circles Collection Framelits Die (counting from the outside in toward the middle) to cut out my flower.  Then, I cut a circle of Basic Gray card stock using the third largest circle die.  I layered the two circles together and adhered them to the card front using SNAIL Adhesive.  For my senitment I chose the “Happy Birthday” greeting from the Teeny Tiny Wishes stamp set (wood mount and clear mount).  I stamped it in Basic Gray ink and punched it out using the Word Window Punch. I needed my sentiment to be a little narrower than the word window punch, so I punched it so that the edge of the words were near the end of the punch.  Then I attached a post-it-note to the punched sentiment and punched it a second time, trimming off the extra length that I did not need.  I used Stampin’ Dimensionals to adhere my sentiment to the front of the card, and added three Basic Pearl Jewel Accents for a finishing touch.


Blooming with Kindness - Gray2

This card was really coming together nicely, but I didn’t like the fact that it didn’t lie flat, so I added some gray grosgrain ribbon to tie it closed… Now it was perfect!  Finally, I finished the inside of my card by stamping one of the border stamps from the Mosaic Madness stamp set (wood mount and clear mount) along the bottom edge of a Very Vanilla card stock panel in Basic Gray ink.

Blooming with Kindness - Gray5

I have to say that I am really pleased with how this card turned out!  When I watched Brandy’s video tutorial, I could just picture how elegant the flower from the Blooming with Kindness stamp set would look on the front of a flip card, and the end result did not disappoint!  If you enjoyed my post, please pin it to Pinterest for me.  I am working on building up my blog following and could use your help in getting the word out!  If you scroll to the bottom of the post, you will find a “pin it” button just below my supply list for the project… and, don’t forget to leave me a comment for your chance to win a handcrafted card in the mail!

If you would like to order the Blooming with Kindness stamp set or any of the other beautiful products featured in this card, please click here to shop in my online store.  Remember it’s Sale-a-bration with Stampin’ Up! Choose from a wide variety of FREE items with any $50 purchase until March 31, 2014.

You can find a complete list of supplies, including card stock cuts, and Brandy Cox’s video tutorial at the very bottom of this post.

____________________________________________________________

Weekly Deals from Stampin’ Up!  March 4 – 10

Here are the new Weekly Deals from Stampin’ Up!:

Weekly Deals

Click here to see the Weekly Deals from Stampin’ Up! in my online store.  The Weekly Deals are only while supplies last and only available at these great prices through March 10.

____________________________________________________________

If you need any stamping supplies, I’d be very happy to be your Demonstrator.  Just click on Order Stampin’ Up! Online Now in the main menu or in the sidebar to go directly to my online store or drop me an email if you have any questions.

Happy Stamping!

Heather

  • It’s Sale-a-bration time!!  You’ll get a free item from Stampin’ Up! for every $50 that you purchase between now and March 31!  Click on my Stampin’ Up! Promotions page for more information!
  • Visit my online store here.
  • Shop the Clearance Rack here.

____________________________________________________________

Stampin’ Up! items used to create this project:

Stamp Sets: Blooming with Kindness (126422); Teeny Tiny Wishes (127802); Mosaic Madness (130249)

Dies, Punches, & Embossing Folders: Circles Collection Framelits Dies (130911); Modern Mosaic Textured Impressions Embossing Folder (129984); Word Window Punch (119857)

Embellishments: Basic Pearls Jewel Accents (119247)

Card Stock:  Smoky Slate (131202) – card base 5-1/2″ x 11″; Basic Gray (121044) – one circle framelits die cut; Very Vanilla (101650) – one circle framelit die cut, one word window punch, 5″ x 3-3/4″ panel (inside)
Markers & Ink:  Smoky Slate Classic Stampin’ Pad (131179); Basic Gray Classic Stampin’ Pad (126981)

Tools:  Stamp-a-ma-jig (101049); sponge daubers (102892); Big Shot (113439)

Adhesive: SNAIL (104332); Stampin’ Dimensionals (104430)

Non-Stampin’ Up! Products Used:  gray grosgrain ribbon

Flip Card Tutorial from Brandy Cox