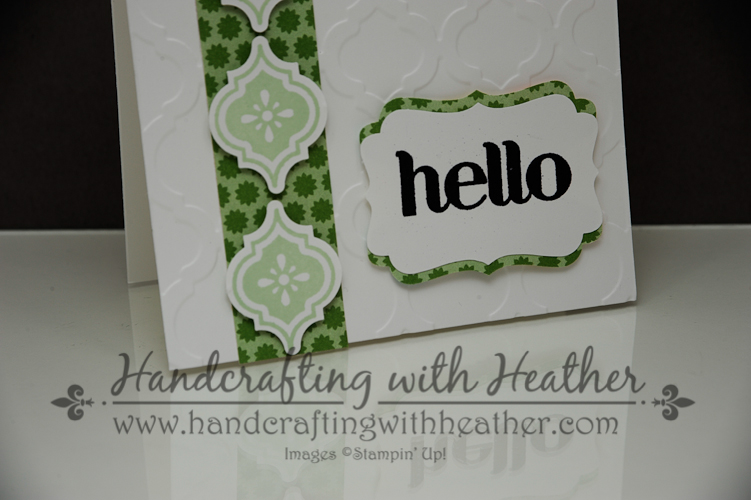
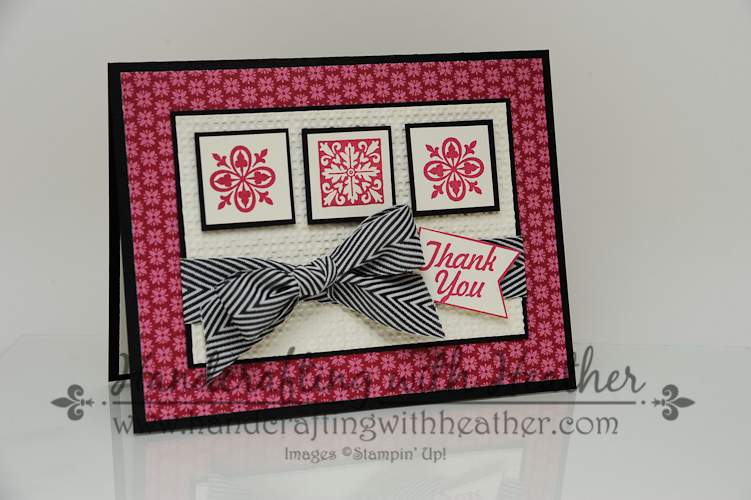
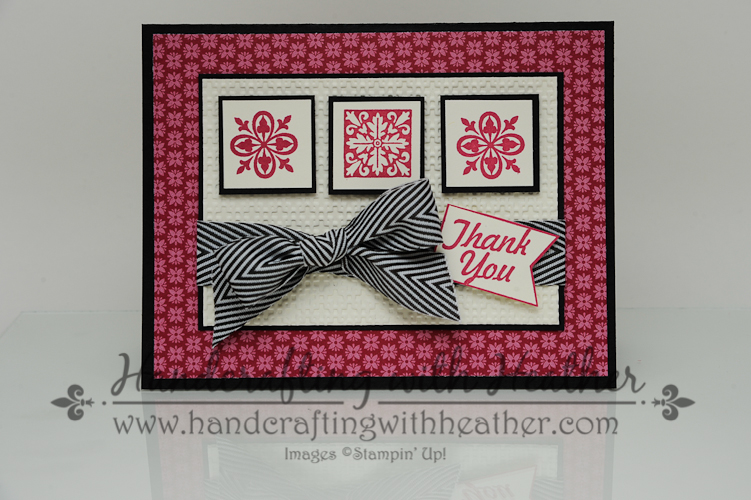
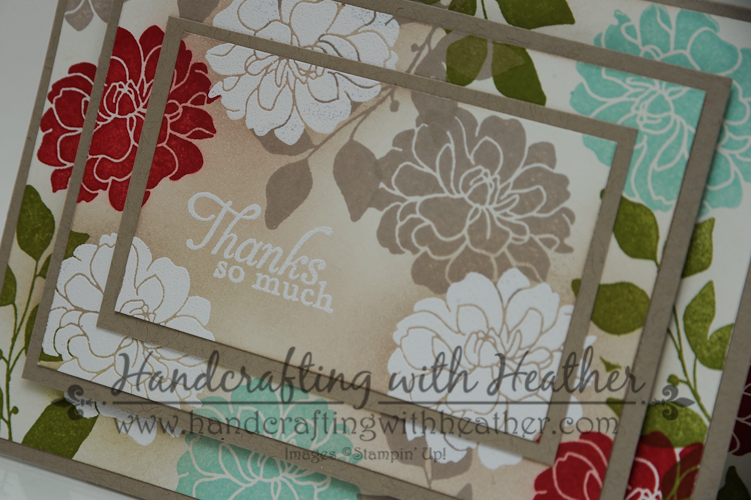
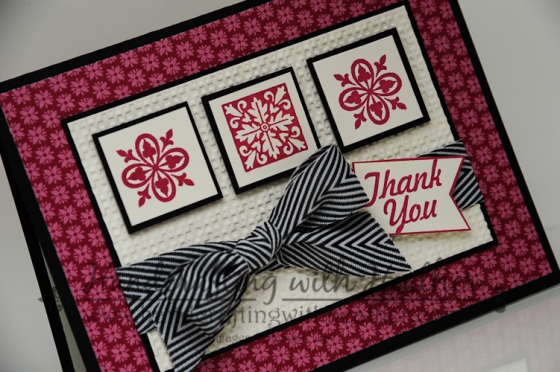
Today’s project is a Thank You card featuring the Hello, Lovely stamp set, Square Lattice Embossing Folder, and Birthday Basics Designer Series Paper from Stampin’ Up! Each of these items are slated to retire on June 4th and are available only while supplies last.
During the month of April, I have been doing a drawing each Sunday. One lucky winner who leaves me a comment receives one of the featured products from Sale-a-bration. Today is the last day to enter for your chance to win. I would love to hear what you think of today’s card. Also, if you enjoy reading my posts, why not have them delivered to your inbox automatically. Just click on the “follow” button in the sidebar.

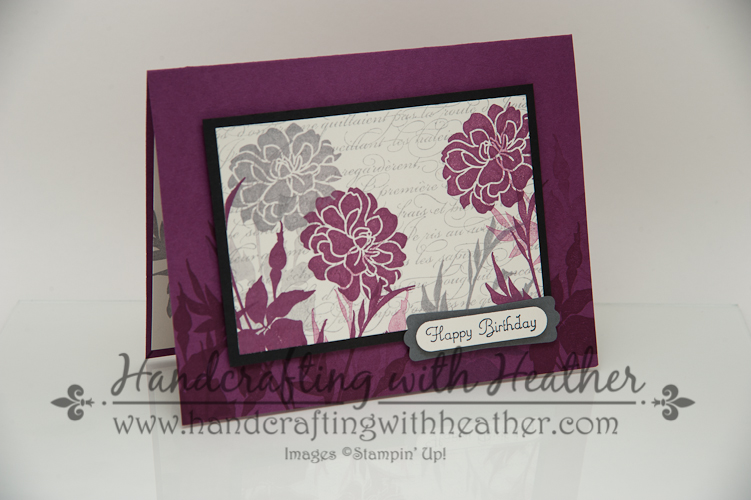
I started my card today with a Basic Black card base and added a panel of Raspberry Ripple designer series paper from the Birthday Basics Pack. This design coordinated perfectly with the geometric designs from the Hello, Lovely stamp set.

Next, I dry embossed a panel of Very Vanilla card stock using the Square Lattice embossing folder and my Big Shot. I mounted that panel onto a panel of Basic Black. Then I stamped the geometric designs from Hello, Lovely onto Very Vanilla card stock using my Rose Red Classic Stampin’ Pad. I punched out the stamped images using the 1″ square punch and mounted them on Basic Black card stock mats. I adhered the stamped images to the embossed panel using Stampin’ Dimensionals.
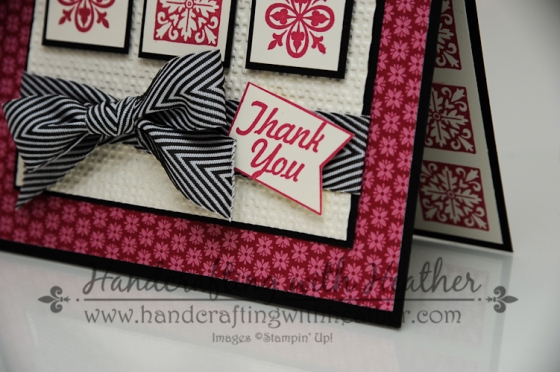
I used the cute Basic Black Chevron Ribbon to tie a bow around my panel. I just love the design of that ribbon. Finally, I stamped the “Thank You” greeting from the Hello, Lovely stamp set onto Very Vanilla card stock. I cut it out using my paper snips and adhered it to the front of the card with Stampin’ Dimensionals.
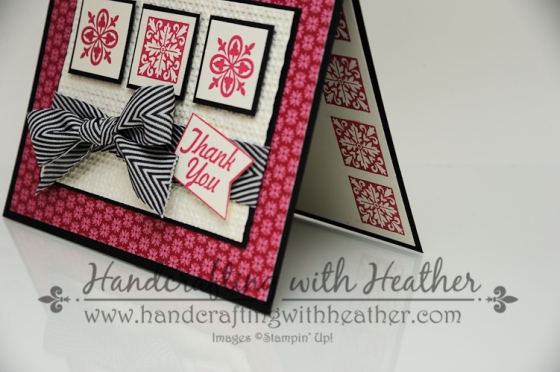
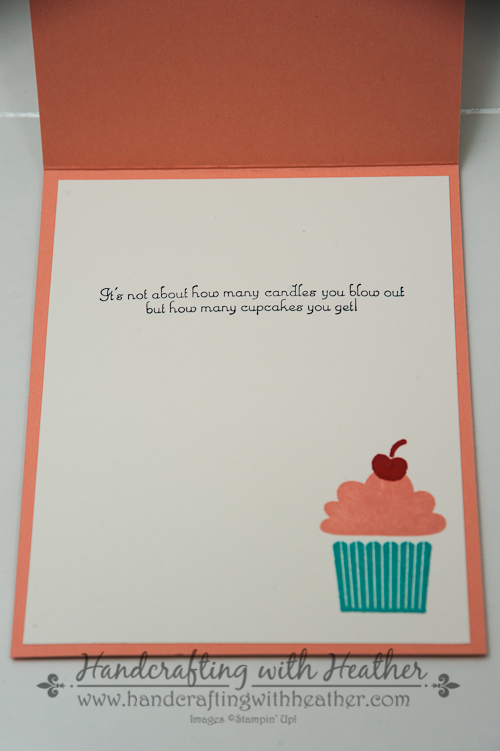
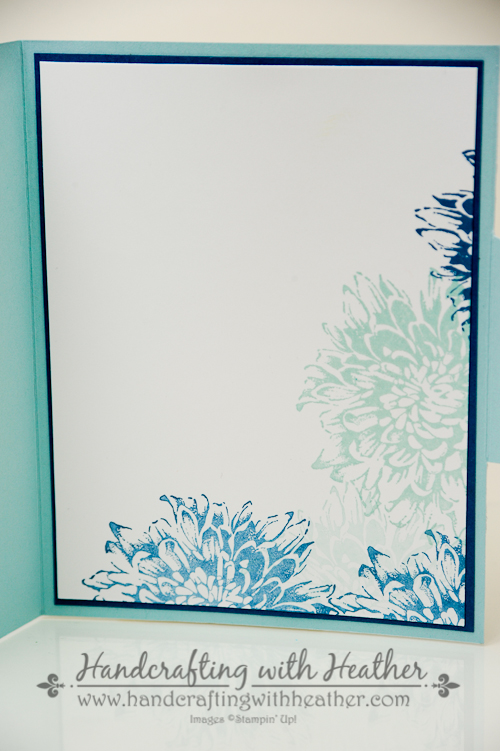
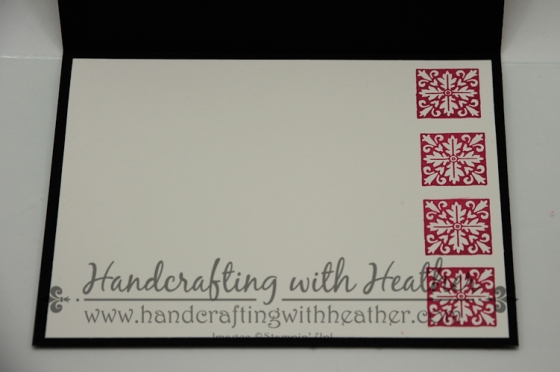
To finish off the inside of my card, I stamped the square design four times along the short side of a Very Vanilla panel using Rose Red ink. I used my stamp-a-ma-jig to help with placement.
I am very pleased with how this card turned out. I love the color combination and the use of texture. Hopefully, you have enjoyed it too. If so, I hope you will pin this project to Pinterest for me. If you scroll to the bottom of this post, you will find a complete list of supplies used to make today’s project, including the dimensions for the card stock cuts. Below the supply list, you will find a “pin it” button. I would appreciate your help in spreading the word about my work. Also, don’t forget to leave me a comment for your chance to win a free stamp set from Sale-a-bration!
If you find inspiration from this blog, one way you can show your support is by selecting me as your personal Stampin’ Up! Demonstrator. If you are interested in purchasing the Birthday Basics DSP, Square Lattice Embossing Folder, or the Hello, Lovely stamp set from Stampin’ Up! now is the perfect time. Remember, these items are on the retiring list, so they are only available while supplies last through June 4th. Don’t miss out… shop now in my online store!
If you need any stamping supplies or have any questions, I would love to help you out. Just click on Order Stampin’ Up! Online Now in the main menu or in the sidebar to go directly to my online store. Feel free to drop me an email if you have any questions. I’m here to help!
Happy Stamping!
Heather
- Visit my online store here.
- Shop the Clearance Rack here.
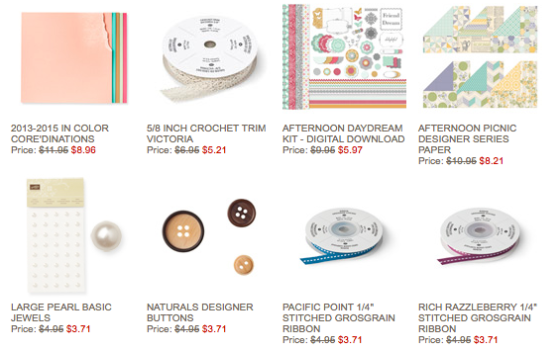
WEEKLY DEALS for April 22-28
Click here to see the Weekly Deals from Stampin’ Up! in my online store. The Weekly Deals are only while supplies last and only available at these great prices through April 28.
Stampin’ Up! items used to create today’s project:
If you would like to order any of the products featured in today’s project, click the images below to order from my online store.
Card Stock Cuts
Card Base: Basic Black – 5-1/2″ x 8-1/2″
Panels: Birthday Basics DSP (Raspberry Ripple) – 4″ x 5-1/4″ panel; Basic Black – 3″ x 4-1/4″ panel, three 1-1/8″ x 1-1/8″ squares; Very Vanilla – 2-7/8″ x 4-1/8″ panel, 4″ x 5-1/4″ panel (inside of card).
Sentiment/Die Cuts: Very Vanilla – three 1″ square punches, one sentiment