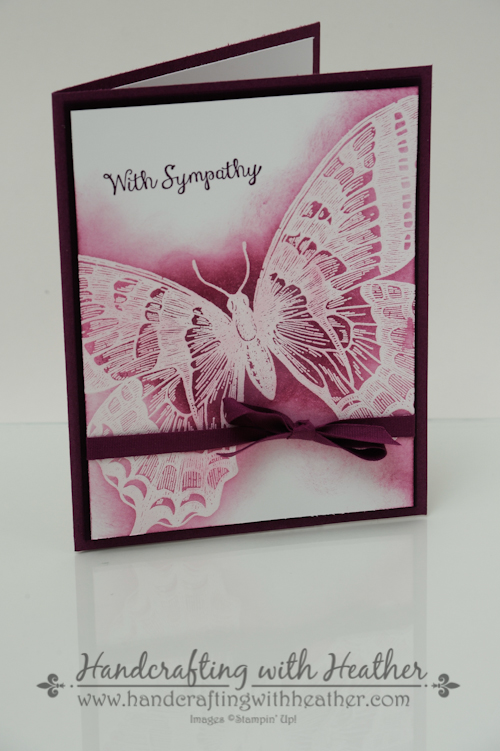
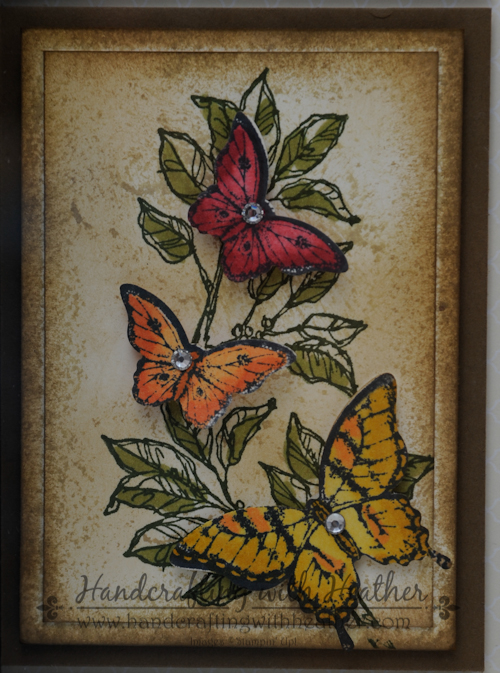
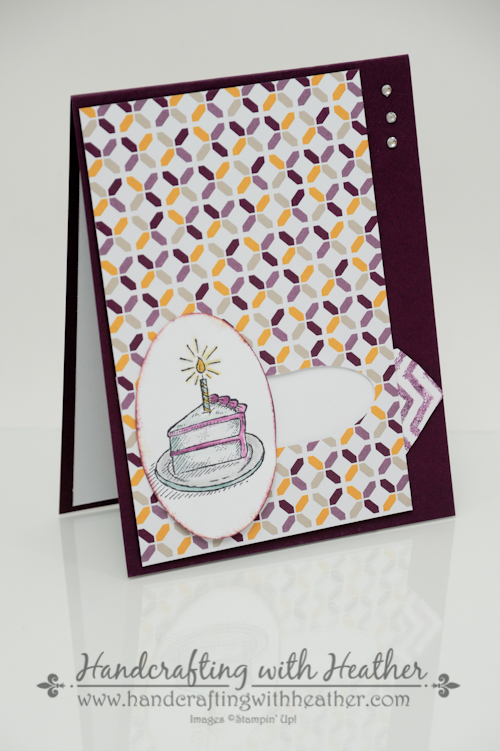
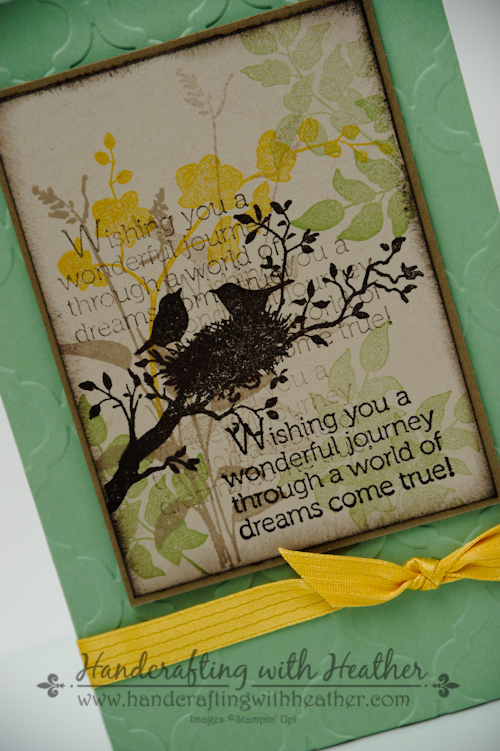
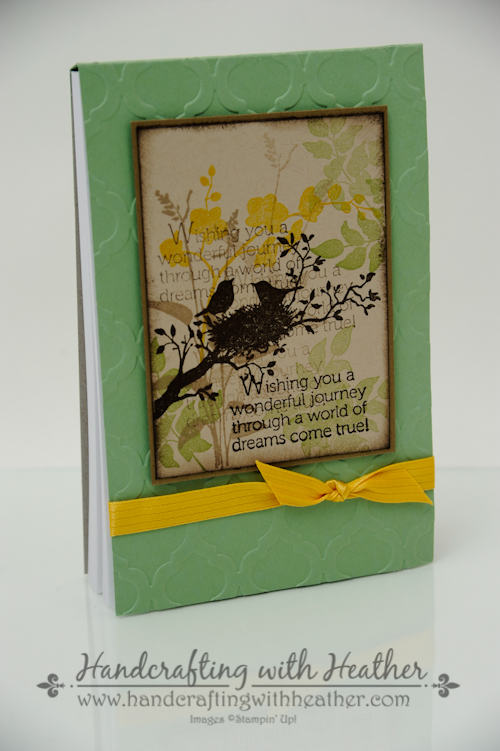
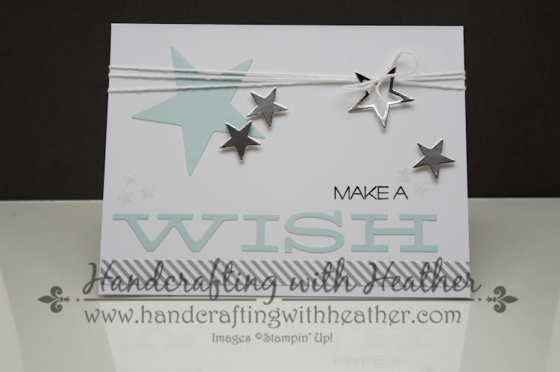
Last week, as I dealt with everything that was going on in my life, I realized I had a friend with a birthday today. I was so grateful to have My Paper Pumpkin kit from July all ready to go. I sat down and in a matter of minutes I had a cute birthday card all ready to go! Everything I needed was in that box!
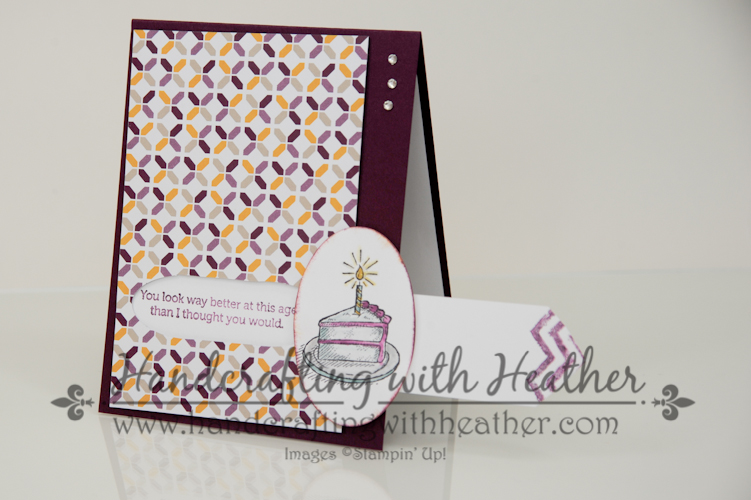
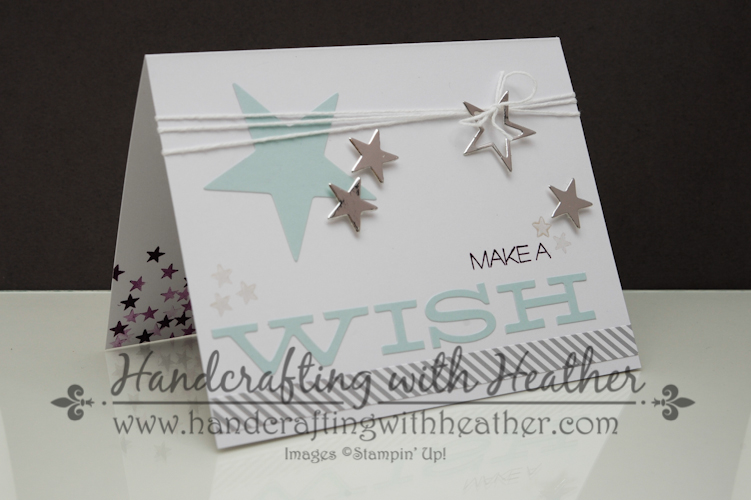 For the inside of this card, I used the little star stamp that came with the Paper Pumpkin kit to create a cute border. I stamped each star image three times without re-inking my stamp to create some added dimension.
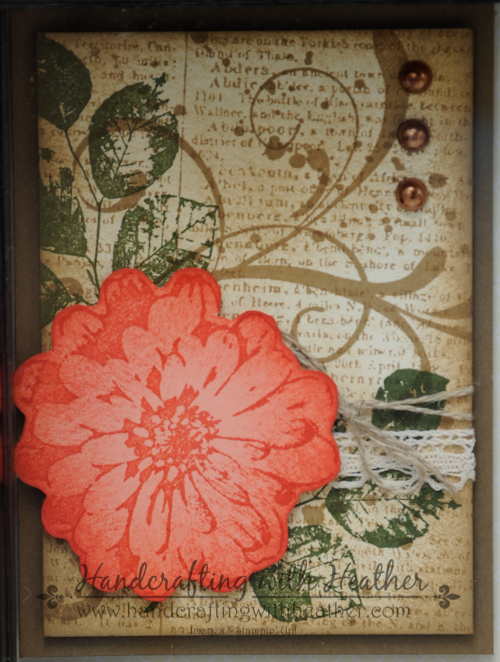
 The July Paper Pumpkin kit came with everything I needed to make 6 cards and 6 cute gift boxes. So far, I’ve only created this one card, but I can’t wait to delve into the kit to create some more fun items. I started a new job this week as the Instructional Technology Specialist at my school. I will be working with teachers to help them integrate technology into their classrooms. I think the little gift boxes will be perfect for little treats for my teachers when they try something new!
If you haven’t tried Paper Pumpkin, now is a great time to sign up–get 50% off your first two months. With a deal like this, you’ll want to invite everyone you know to give it a try too! Click here to join. (See below for more details on the My Paper Pumpkin Promotion.)
If you are a fan of this project and want to pin it to Pinterest, you will find a “pin it” button at the bottom of this post below the supply list and card stock cuts. Also, please subscribe to my blog via email by clicking on the “follow” button if you are a fan of my work.
I hope you will consider selecting me as your demonstrator for your stamping needs. I also offer free catalogs to all of my customers. If you are my customer or want to be my customer, please email me your name and mailing address. I’ll be more than happy to send you the gorgeous book. You can email me at handcraftingheather@icloud.com.
If you need any supplies you can shop now in my online store! Feel free to drop me an email if you have any questions or if you would like a catalog. I’m here to help!
Happy Stamping!
Heather
My Paper Pumpkin… A Deal for New Subscribers

If you haven’t tried Paper Pumpkin, now is a great time to sign up–get 50% off your first two months. With a deal like this, you’ll want to invite everyone you know to give it a try too! Click here to join.
Offer Dates: July 16, 2014–September 10, 2014
Offer Details: Use the code HALFOFF2 to join Paper Pumpkin before September 10, 2014, and get 50% off the first two months! After that, keep the creativity coming for only $19.95 + tax per month (shipping included).
The Fine Print:
|
WEEKLY DEALS for August 5-11
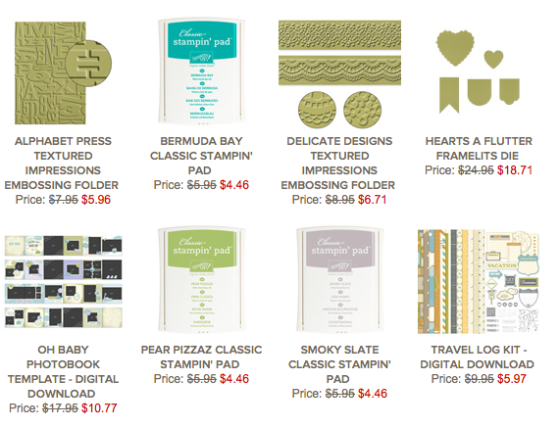
Click here to see the Weekly Deals from Stampin’ Up! in my online store. The Weekly Deals are only while supplies last and only available at these great prices through August 11.