Today’s card features the Blooming with Kindness stamp set (wood mount and clear mount) and Watercolor Wonder Designer Series Paper from Stampin’ Up! The design was inspired by Sandi MacIver (Stamping with Sandi) who introduced me to the idea of stamping on patterned paper. I also owe Sandi a huge shout out and show of appreciation for mentioning me on her blog on Thursday. Many of you reading this today found me via Sandi’s post, and I am very grateful for the introduction! I am so thrilled to have you with me today!
Now, onto today’s project… I just love this stamp set. From the moment I saw that gorgeous flower, I knew I had to have it. I get tons of compliments on every card I make with this one. If you like what I’ve created today, I would love it if you would leave me a comment. Tomorrow is the end of the month, so this is your last chance to get in on my monthly drawing for a a handcrafted card in the mail! Also, if you enjoy reading my posts, why not have them delivered to your inbox automatically. Just click on the “follow” button in the sidebar. I can’t even tell you how thrilled I am every time I get a new follower! I just love sharing ideas with you guys and hearing all about the great project ideas you have too.

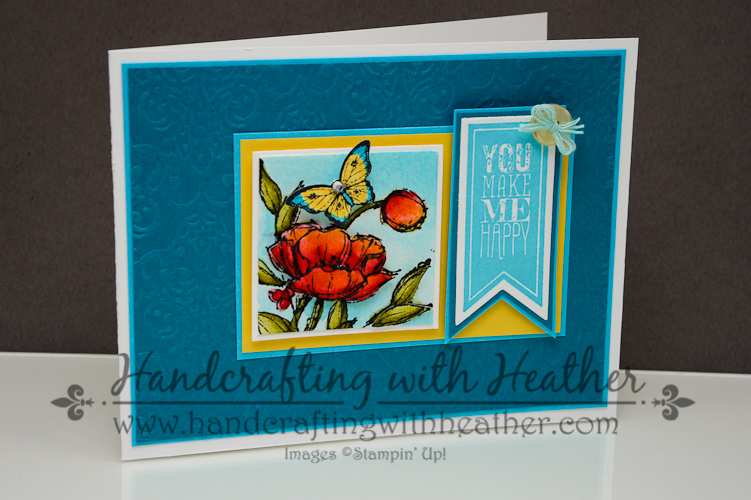
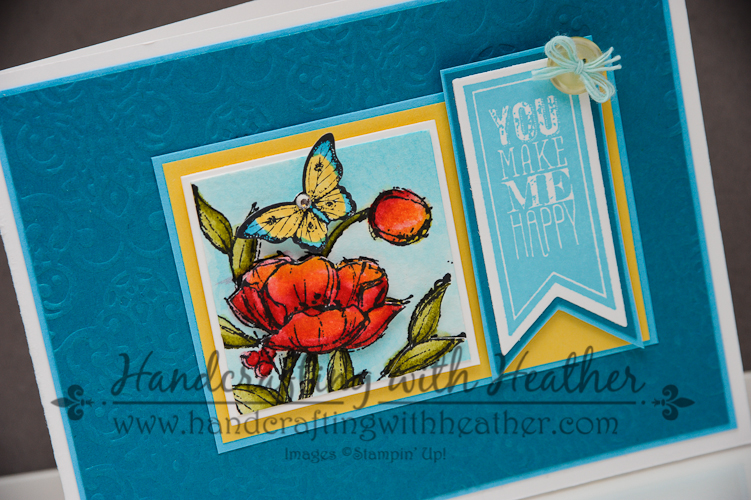
I began my card by selecting a piece of Watercolor Wonder DSP with cute yellow and orange polkadots. The design of this paper was simple enough that I felt it would make a beautiful background for my stamped images. I chose to stamp my images in Crushed Curry and Tangerine Tango ink to coordinate with the design of the Watercolor Wonder DSP. That is one great thing about Stampin’ Up designer series papers, they always list which colors were used in the design right on the label. It takes all the guesswork out of creating your color scheme.

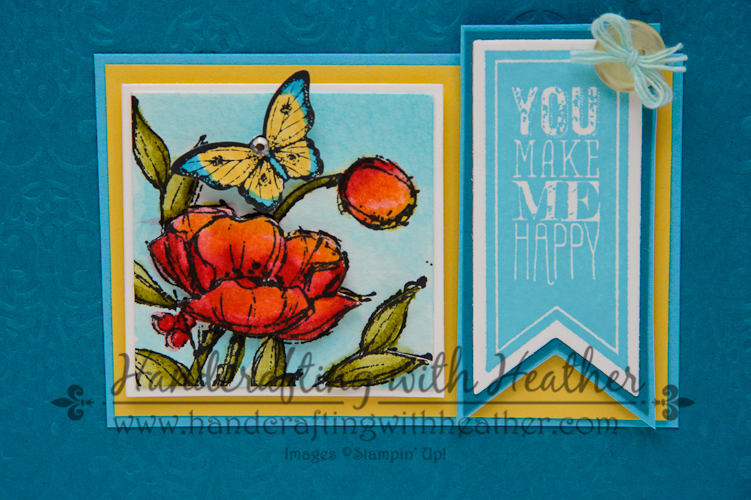
First, I stamped the flower from the Blooming with Kindness stamp set in Crushed Curry on the right side of my panel, making sure it went off the page a bit. Then I cleaned my stamp and inked it up with Tangerine Tango. I stamped it once on a scrap of paper, before stamping it in the bottom left corner of my DSP panel. I wanted to add extra depth to my design by altering the intensity of the colors. For my third bloom, which would be the main focal point of the card, I knew it needed to have some added dimension. I decided to double stamp it to create a bit of a shadow effect. First, I inked up my stamp with Crushed Curry and stamped off on a scratch paper before stamping a lighter image on the DSP panel. Then I used my Stamp-a-ma-jig to stamp the image again using Tangerine Tango ink. For the second stamp, I offset the image just slightly to create the illusion of depth.

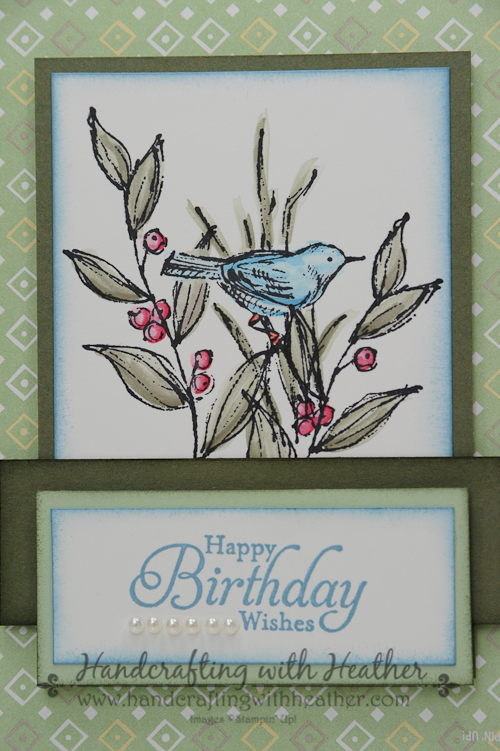
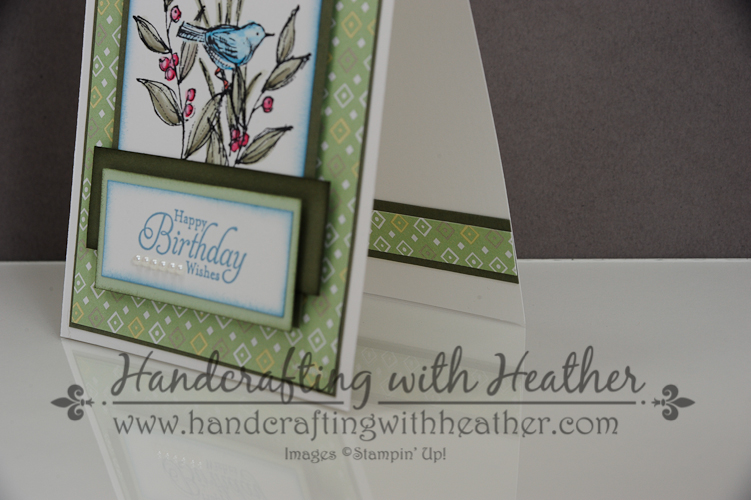
For my greeting , I chose the “Birthday Wishes” sentiment from the Simply Sketched stamp set, available as one of the great hostess rewards from Stampin’ Up!. I stamped it in Cajun Craze ink on my stamped panel using my Stamp-a-ma-jig. Then, I used a sponge dauber to ink around the edges of the panel in the same color. I mounted my art piece on a panel of Tangerine Tango using SNAIL adhesive, then adhered that to a panel of beautiful floral designer series paper from the Watercolor Wonder set. Finally, I added all of my layered panels to a Tangerine Tango card base.

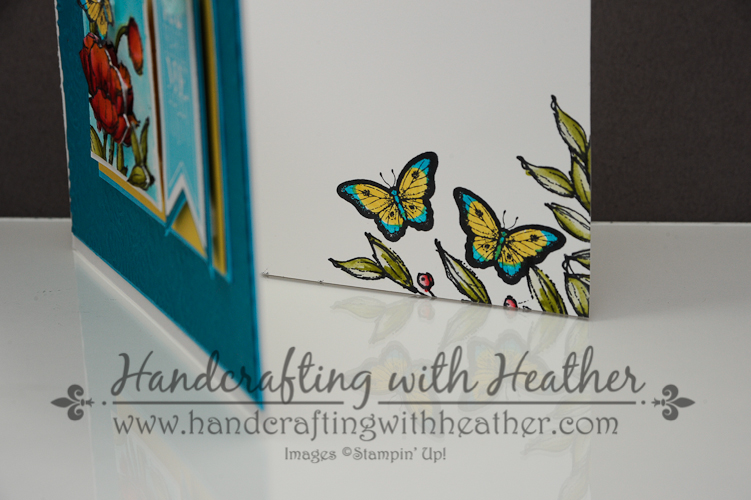
For the finishing touches on the inside of my card I stamped the floral image from the Blooming with Kindness stamp set along the bottom of a panel of Whisper White card stock using the same ink colors as I did on the front of the card. Then I inked around the edges of the panel using Tangerine Tango ink and a sponge dauber. I layered this panel onto a panel of the floral Watercolor Wonder DSP and adhered it to the card base.

I love the bright cheery colors of this card, and the elegance of the floral stamp. I think it is stunning (if I do say so myself)! LOL. I will definitely keep my eye out for other designer series paper designs that I think would make a nice background image.
I would love to hear what you think about this project too. Don’t forget to leave me a comment, for your chance to win a handcrafted card! Also, if you liked my post today, please pin it to Pinterest for me. I am new to blogging and I would love your help in boosting my blog following. If you scroll to the bottom of the post, you will find a “pin it” button just below my supply list for the project.
If you would like to purchase the Blooming with Kindness stamp set now is the perfect time. Monday, March 31st is the final day of the Sale-a-Bration promotion. Don’t miss out on your chance to get some really great products for FREE with your $50 purchase. Shop in my online store now by clicking here. You can learn more about the Sale-a-bration promotional items in this brochure. Also, if you would like the chance to earn the Simply Sketched stamp set through our hostess program, I hope you will consider contacting me to be your demonstrator.
You can find a complete list of supplies used for this project at the very bottom of this post.
____________________________________________________________
Weekly Deals from Stampin’ Up! March 25-31
Here are the new Weekly Deals from Stampin’ Up!:
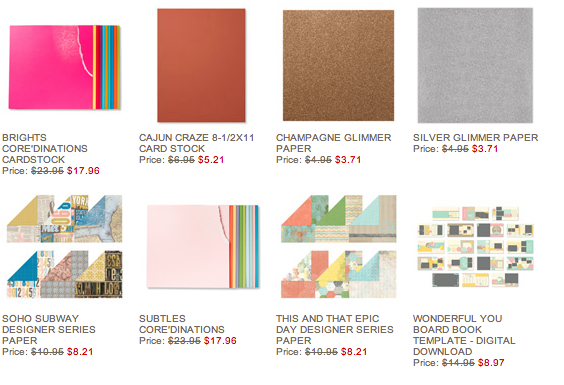
Click here to see the Weekly Deals from Stampin’ Up! in my online store. The Weekly Deals are only while supplies last and only available at these great prices through March 31.
________________________________________________________________________________________
If you need any stamping supplies, I’d be very happy to be your Demonstrator. Just click on Order Stampin’ Up! Online Now in the main menu or in the sidebar to go directly to my online store or drop me an email if you have any questions.
Happy Stamping!
Heather
- It’s Sale-a-bration time!! You’ll get a free item from Stampin’ Up! for every $50 that you purchase between now and March 31! Click on my Stampin’ Up! Promotions page for more information!
- Visit my online store here.
- Shop the Clearance Rack here.
____________________________________________________________
Stampin’ Up! items used to create this project:
Stamp Sets: Blooming with Kindness (126422); Simply Sketched (Hostess Reward – 129672)
Dies, Punches, & Embossing Folders: N/A
Card Stock & DSP: Tangerine Tango (111349)- 4-1/4″ x 11″ card base, 3-1/2″ x 4-3/4″panel; Watercolor Wonder DSP (132994) – Floral: 5″ x 5-1/4″ panel (x2 – front of card and inside card); Polka Dot: 3-3/8″ x 4-5/8″ panel; Whisper White (100730) – 3-3/4″ x 5″ panel (inside of card).
Markers & Ink: Crushed Curry Classic Stampin’ Pad (131173); Cajun Craze Classic Stampin’ Pad (126965); Tangerine Tango Classic Stampin’ Pad (126946)
Embellishments: N/A
Tools: Stamp-a-ma-jig (101049); sponge daubers (102892)
Adhesive: SNAIL (104332)