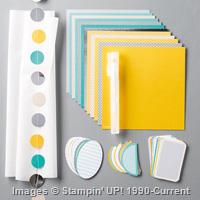
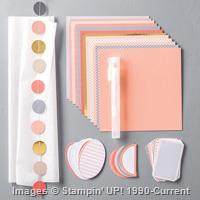
My friend and fellow stamper, Amy Koenders and I recently had a “Stampin’ Playdate” to assemble the Watercolor Winter Simply Created Card Kit. The cards in this kit are just adorable!
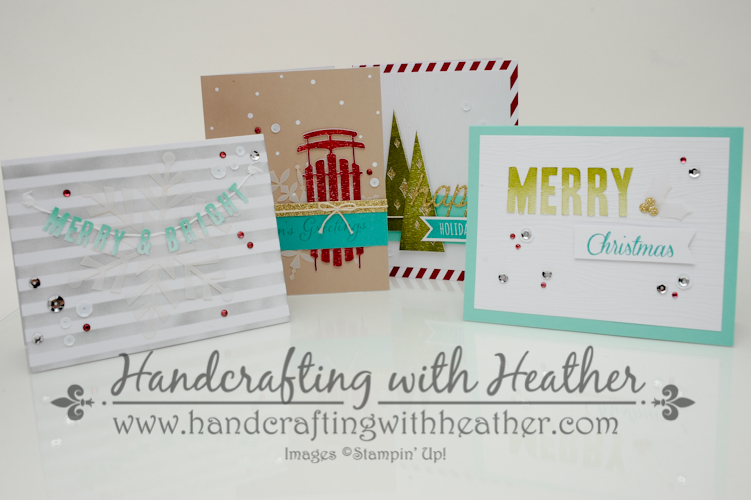
Although, I love the end result of this kit, it isn’t a quick one to put together. Amy and I worked together for a little over 3 hours to put it together. It was a really fun evening, and a great way to spend time with friends! I would definitely recommend it as a social evening for you and some crafting friends!

As the name suggests, the kit is intended to be watercolored, but Amy and I decided to save some time by using a brayer and sponge daubers instead. We used a brayer on the trees and the sleds, rather than watercoloring them and waiting for the ink to dry. 🙂
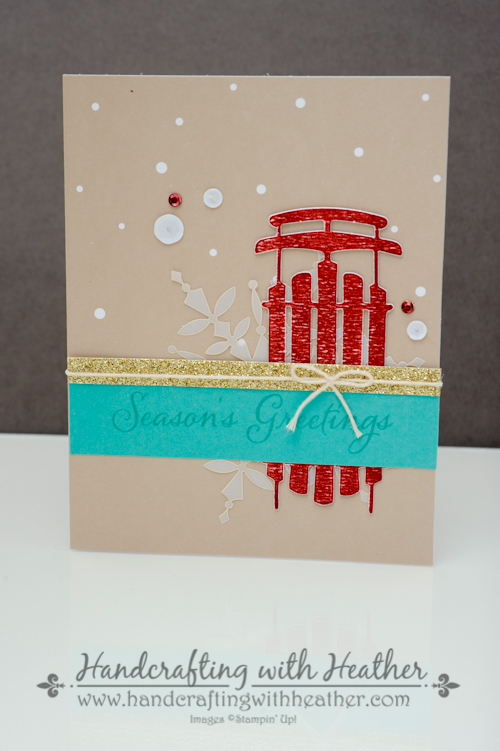
This kit comes with materials to create some of the cards in four languages (English, German, Spanish, and French). Since my sister lives in Germany, I decided to make one of the cards in German. She’s going to love that!
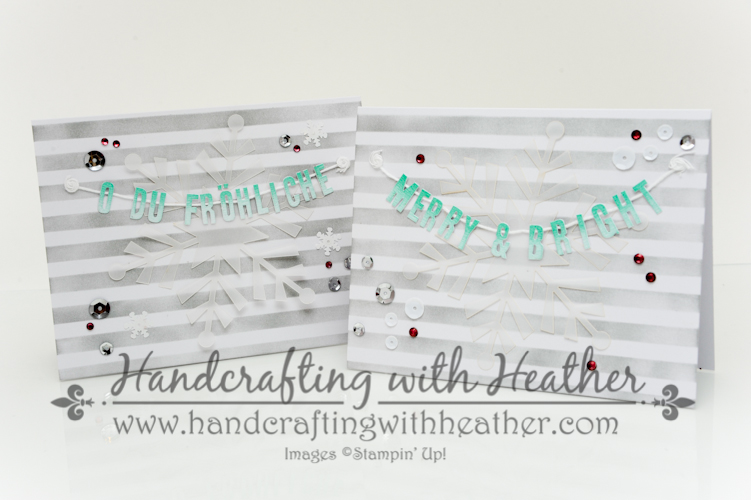
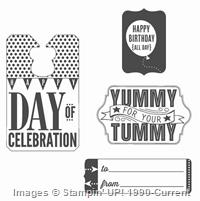
For the stripes on this card, we used a mask and sponge dauber to save a little time. We also sponged the letters. Sponging before you punch out the letters saves a lot of time.
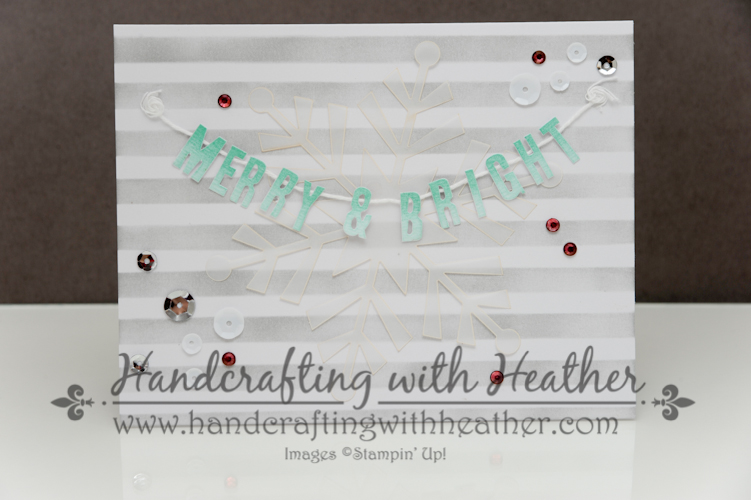
Amy and I used the same sponging technique on the word “Merry” in this card.

The card kit comes with the card bases and embellishments needed to make 20 cards, 5 of each of the four designs (stamps, ink, and adhesive not included). However, we did decide to add a few extra embellishments for some extra wow! We used rhinestones colored with the Cherry Cobbler Stampin’ Blendabilities and the Frosted Sequins for a little bling. 🙂
All in all, this kit provided Amy and I with some great “girlfriend time” and we each walked away with 10 finished Christmas cards! I’d say that is a deal you can’t beat. If you are a fan of this project, please pin it to Pinterest for me. You will find a “pin it” button at the bottom of this post below the supply list.
I hope you will consider selecting me as your demonstrator for your stamping needs. If you need any supplies you can shop now in my online store! Feel free to drop me an email if you have any questions or if you would like a catalog. I’m here to help!
Happy Stamping!
Heather
- Visit my online store here.
- Shop the Clearance Rack here.
- November 25- December 15 Hostess Code: UJGAKUUCUse this hostess code when you order and receive a set of rhinestones from me! If your order is over $150, please do not use this code, but you’ll still get the free gift.
Handcrafting with Heather Creativity Clubhouse

Don’t forget about my new customer loyalty program when you place your orders. I’ve decided to extend my offer for double Creativity Credits until Christmas Day! Click here to read more about the Creativity Credits program, my buyer reward program where you earn free Stampin’ Up! merchandise.
Let me know if you have any questions, have fun shopping!
November 25- December 15 Hostess Code: UJGAKUUC
Use this hostess code when you order and receive a set of rhinestones from me! If your order is over $150, please do not use this code, but you’ll still get the free gift.
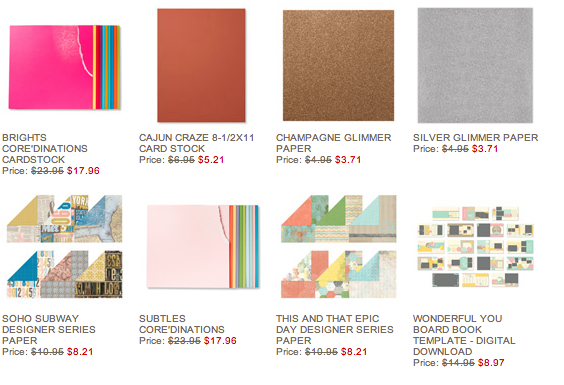
New Weekly Deals From Stampin’ Up! December 2-8
Click the images below to order the weekly deal products from my online store. The Weekly Deals are only while supplies last and only available at these great prices through December 8th.
Built for Free Using: My Stampin Blog
Stampin’ Up! Products Used for Today’s Projects
If you would like to order any of the products featured in today’s project, click the images below to order from my online store.


Built for Free Using: My Stampin Blog