I have a special post for you today… It’s the Happy Stampers Holiday Catalog Blog Hop! This may be your first stop on the blog hop, or you may have linked to me from Sandi MacIver’s website. Either way, I hope you enjoy the projects I have in store for you today. Yes, that’s right, projects, plural. I have a trio of coordinated projects for you today featuring the Bright and Beautiful stamp set from the brand new Stampin’ Up! Holiday Catalog, which is live as of today! You can finally order all those great holiday items that you have been waiting for! I used many of the new products for today’s blog hop, and I’m excited to tell you all about them.
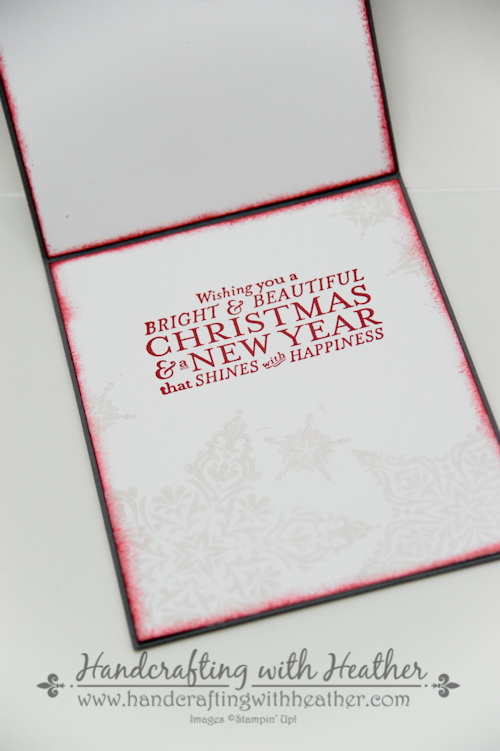
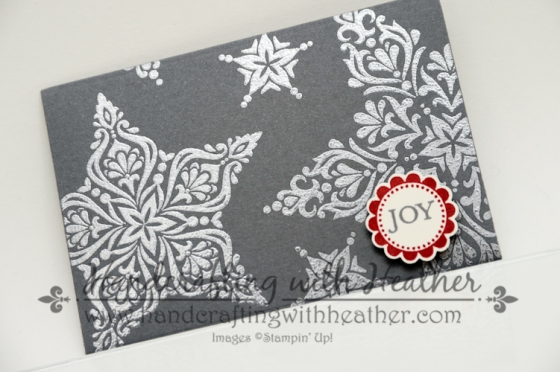
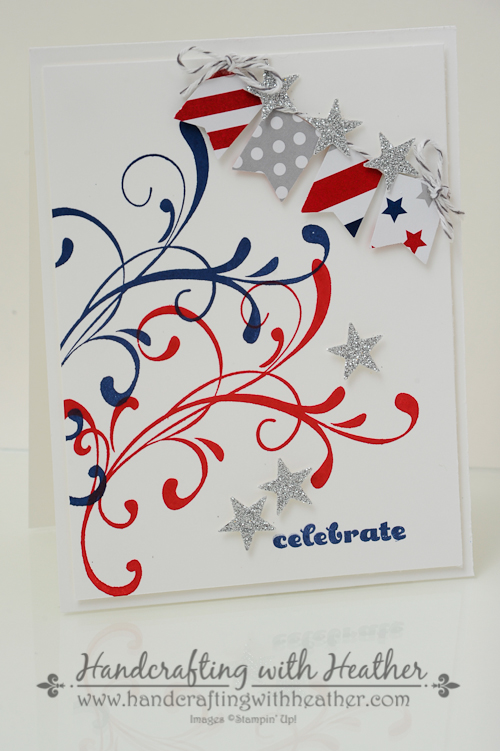
My first project for you today is a shaker card created with the Bright and Beautiful stamp set. I heat embossed the beautiful star images using silver Stampin’ Emboss powder, and cut out the window using the coordinating Stars framelits die.
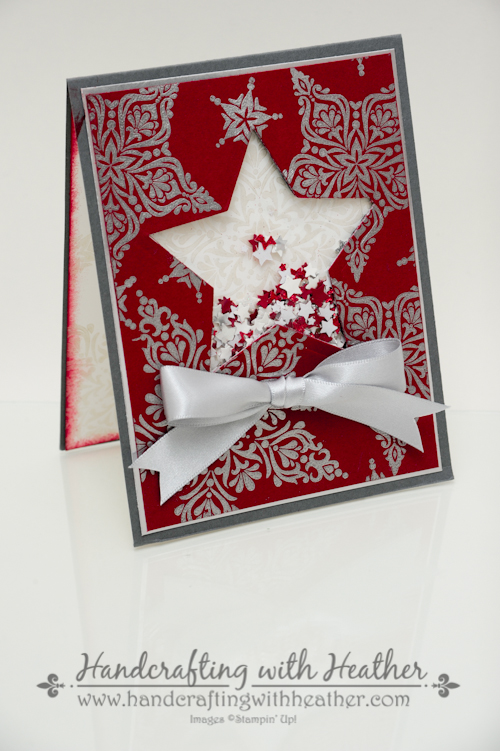
For the confetti, I punched tons of little stars using the brand new Star Confetti Punch from the holiday catalog. I used a combination of Glimmer Paper and Silver Foil Sheets to add just the right amount of sparkle. I also punched some matte stars from Cherry Cobbler and Whisper White card stock. I just love how this card came together.

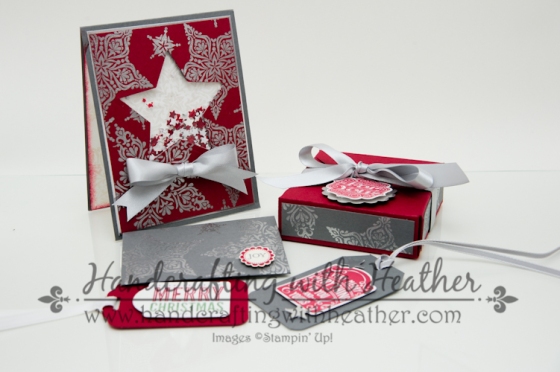
For my second project, I continued the theme by maintaining the same color scheme and embossing technique for this adorable box and gift tag set. The box was created using one of my new favorite tools, the Gift Box Punch Board!
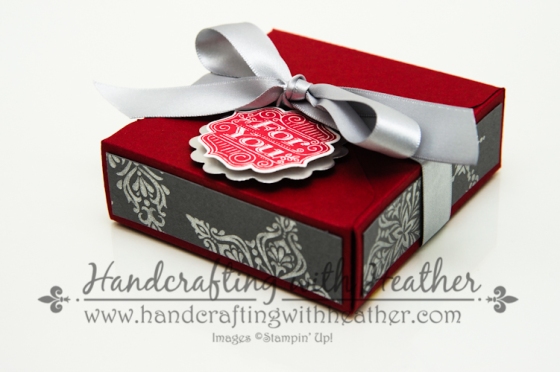
As I played around with the board, I found that if you change the paper size, but follow all the other directions, it changes the height of the box. For this box, I used a 7-1/2″ x 7-1/2″ piece of card stock and scored at the Large vertical mark, and the XL horizontal mark. (Note, when you change the dimensions, you have to do custom diagonals, by lining up the corners with the diagonal score groove.)
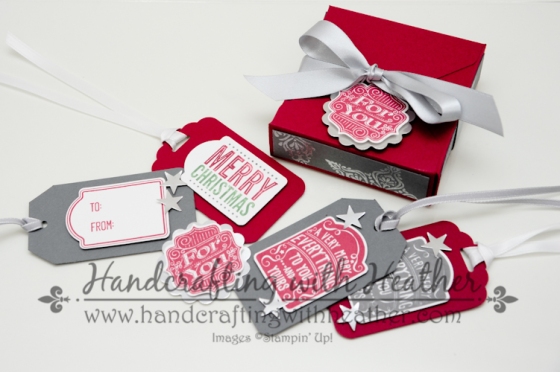
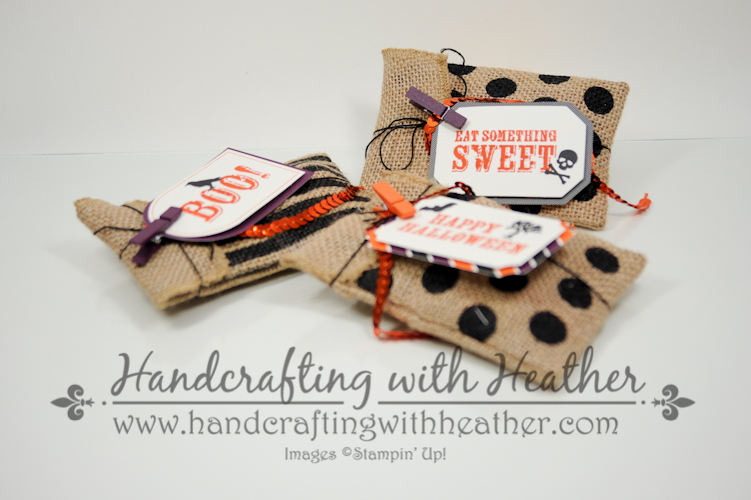
What’s inside the box is almost as good as the box itself! I just love these gift tags created using the Merry Everything stamp set and the new Note Tag Punch. I am jumping for joy over these two. They make creating gift tags a total breeze. I also used my Scalloped and Angled Tag Topper Punches for some added dimension, but you could easily punch out a ton of gift tags and put them right on the top of a present without the extra layer. In fact, I’ve got some sticker paper around here somewhere that is going to get a lot of stamping love this holiday season!
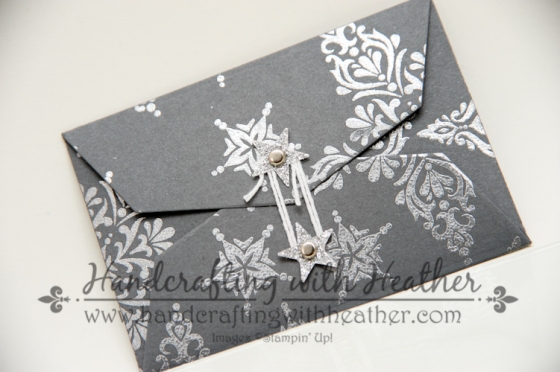
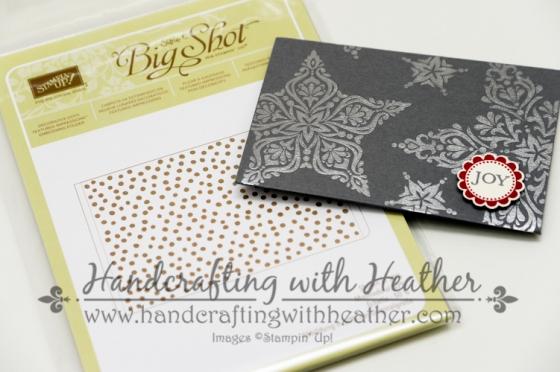
Of course, a blog hop wouldn’t be complete without some blog candy! So, I decided to create a gift card envelope for you using the same design elements as my box and card. This one is created with another item that is sure to become a staple in my gift giving repertoire… the Gift Card Envelope & Trims Thinlits Dies. If you would like the chance to win this darling gift card holder and the decorative dots embossing folder, please leave me a comment to let me know what you think of my blog hop projects today. I will announce the winner in my post next Tuesday, September 2.
I hope you have enjoyed my projects today and that you will pin them to Pinterest. You will find a “pin it” button at the bottom of this post below the supply list. Also, please subscribe to my blog via email by clicking on the “follow” button if you are a fan of my work, and don’t forget to leave me a comment for your chance to win that great notepad!
Doing this blog hop has been a lot of fun. Use the arrow buttons below to check out what Amy Koenders has created for you today on the next stop of the journey.
If you happen to get lost, or want to go back and check out one of the posts, here is a list for you – and don’t forget to leave a little sweet comment on each blog for your chance to win blog candy!
Amy Koenders – www.stampwithamyk.com
Marian Anderson – http://craftingwithmarian.stampinup.net/blog
Trude Thoman – http://stampwithtrude.blogspot.com/
Kristi Gray – www.stampingwithkristi.com
Denise Melia – www.Fivebichonsandme.blogspot.com
Sandi MacIver www.stampingwithsandi.com
Heather Van Looy http://www.handcraftingwithheather.com (You are here.)
I hope you will consider selecting me as your demonstrator for your stamping needs. If you need any supplies you can shop now in my online store! Feel free to drop me an email if you have any questions or if you would like a catalog. I’m here to help!
Happy Stamping!
Heather
- Visit my online store here.
- Shop the Clearance Rack here.
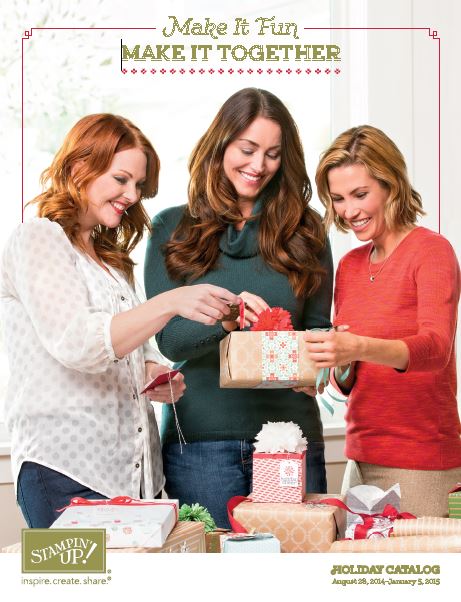
The Holiday Catalog is Here!
Visit my online store here.
$51 in FREE products ends Today!

Whether you are a hobbyist or someone interested in building your own business, this week will be a great time to join Stampin’ Up! For one week only from August 21-28 for only $99 you will get your choice of $150 worth of product. In addition, during the month of August you can order from the new Holiday catalog before it is available to the public (on August 28). If you have at least $99 worth of product on your wish list, you really should consider this opportunity. Being a demonstrator has SO MANY awesome benefits and the opportunity has zero risk! If you are interested in learning more please contact me at handcraftingheather@icloud.com or click here fore more information.
WEEKLY DEALS for August 26 – September 1
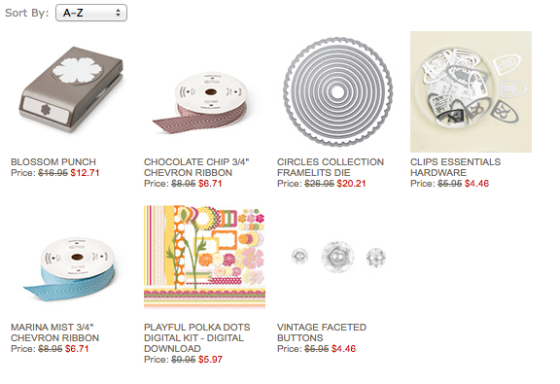
Click here to see the Weekly Deals from Stampin’ Up! in my online store. The Weekly Deals are only while supplies last and only available at these great prices through September 1.
Stampin’ Up! Products Used for Today’s Projects
If you would like to order any of the products featured in today’s project, click the images below to order from my online store.


