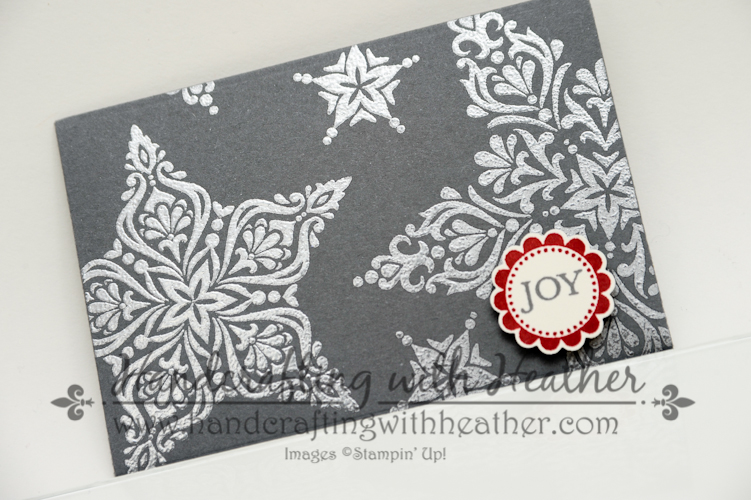
On Friday, I shared an elegant card featuring the Serene Silhouettes stamp set (wood mount and clear mount) from Stampin’ Up! I liked the card so much, that I decided to create a stamp-a-stack collection around it. If you live in the Atlanta area and would be interested in making this gorgeous card set , please contact me to sign up for my Stamp-a-Stack class on Saturday, May 3rd from 7:00-9:00 p.m. We will create this set and another one (I’ll post about that one soon). The cost of the class is $15 and includes all consumable materials, use of my stamping supplies, and I will do all the prep work… you can’t beat that! I would love to connect with some of you face to face for an opportunity to truly create together!
If you like this project as much as I do, I would love to hear from you. Please leave me a comment and I will enter you into my drawing. During the month of April, I will be doing a drawing each Sunday. One lucky winner will receive one of the featured products from Sale-a-bration. So, if you missed out on the free items during the sale, now is your chance to win one! Also, if you enjoy reading my posts, why not have them delivered to your inbox automatically. Just click on the “follow” button in the sidebar.
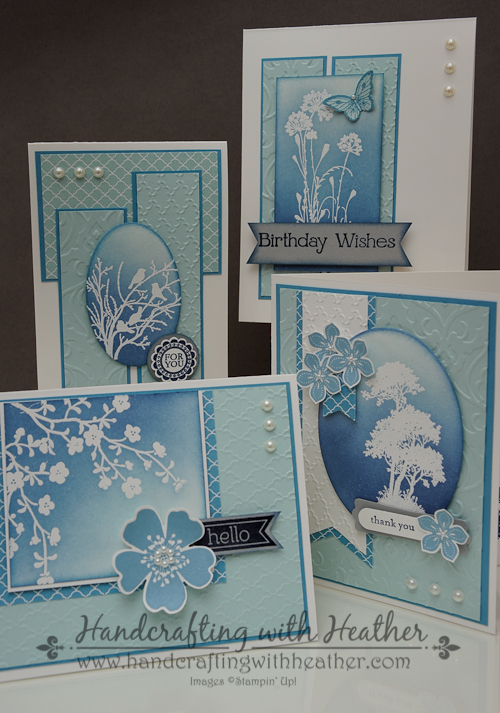
All of the cards in this set were inspired by the Splitcoast Stampers CAS266 card challenge, which was to create a clean and simple card using three of the following colors:

I maintained the same design elements for all four cards of this set. For details about the techniques used in this project, please click here. Below, you will find card recipes for the specific supplies and dimensions for each card.
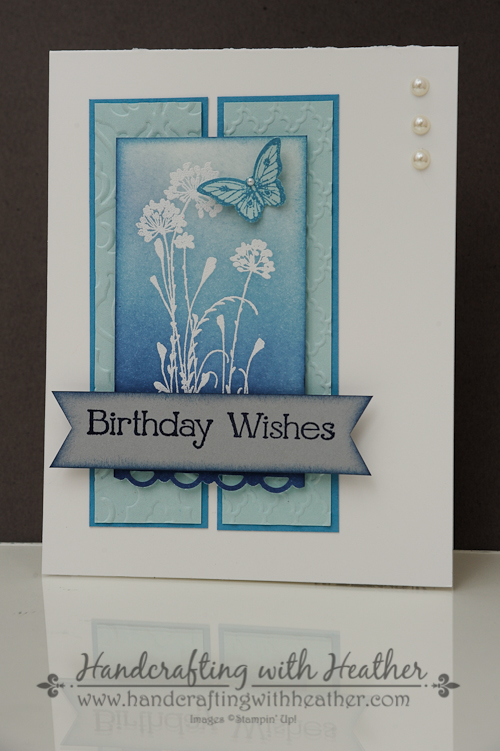
Serene Silhouettes Birthday Wishes (Card #1)

Card #1 was inspired by three different challenges: Retro Sketches #108, Splitcoast Stampers CAS266, and The Card Concept #7.

Stampin’ Up! items used to create card #1:
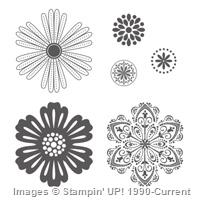
Stamp Sets: Four You (130538); Serene Silhouettes (127324); Papillon Potpourri (123759)
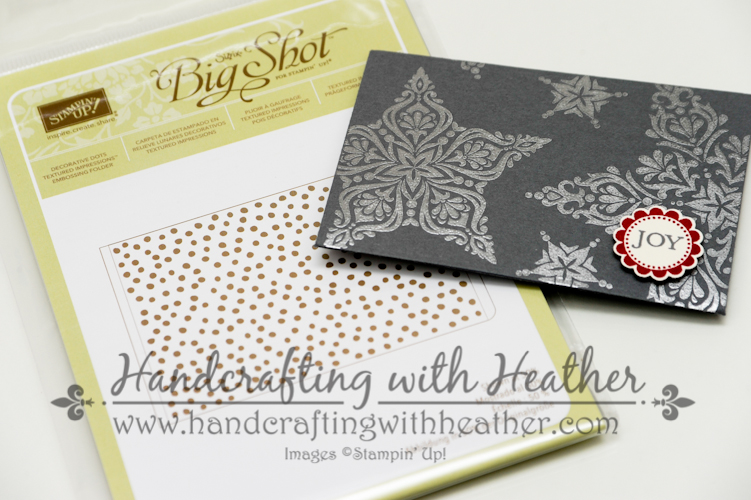
Dies, Punches, & Embossing Folders: Beautifully Baroque Textured Impressions Embossing Folder (130917); Fancy Fan TIEF (127751); Bitty Butterfly Punch (129406); Hexagon Punch (130919); Scallop Trim Border Punch (118402)
Card Stock & DSP: Whisper White (100730) – 4-1/4″ x 11″ card base; 2″ x 3-3/4″ panel; Marina Mist (119682) – 1-1/4″ x 4-1/2″ (2 panels); Soft Sky (131203) – 1-1/8″ x 4-3/8″ (2 panels), one butterfly punch; Smoky Slate (131202) – Banner for sentiment.
Markers & Ink: Soft Sky Classic Stampin’ Pad (131181); Marina Mist Classic Stampin’ Pad (126962); Night of Navy Classic Stampin’ Pad (126970); Versamark Ink (102283)
Embellishments: White Stampin’ Emboss Powder (109132); Basic Pearls Jewel Accents (119247)
Tools: sponge daubers (102892); Big Shot (113439); Heat Emboss Tool (129053); Embossing Buddy (103083)
Adhesive: Stampin’ Dimensionals (104430); Glue Dots (103683); Multipurpose liquid glue (110755)
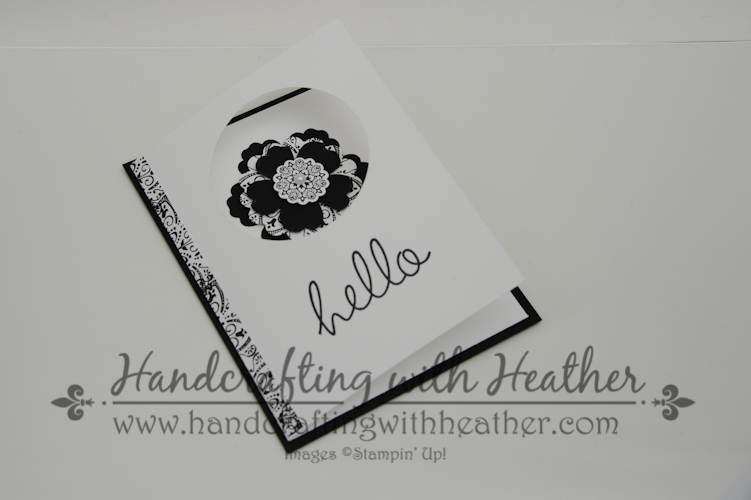
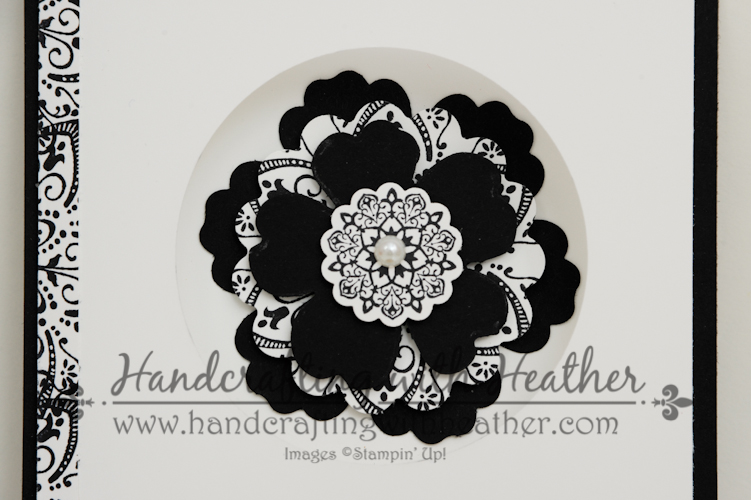
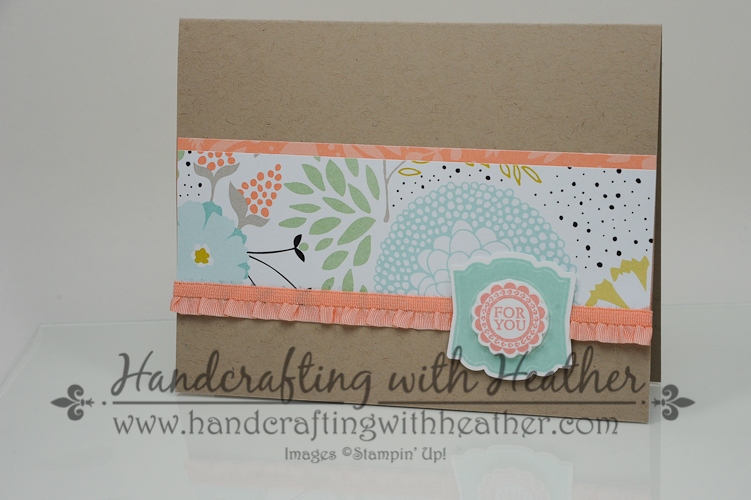
Morning Meadow… “Hello” (Card #2)
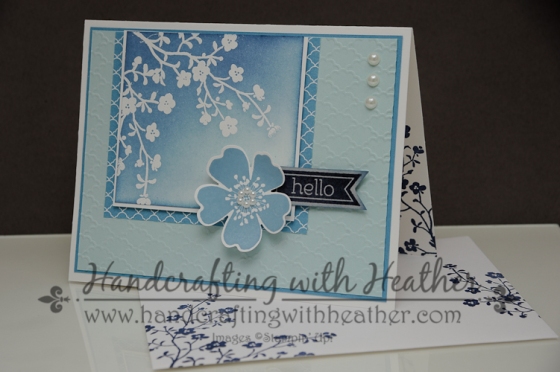
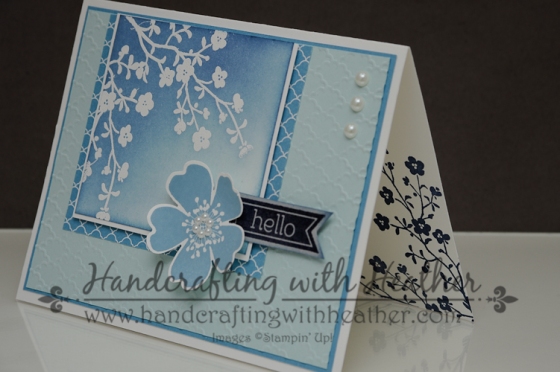
I used Freshly Made Sketches Challenge #130 for my inspiration for card #2 of my stamp-a-stack set. This set was created using the Morning Meadow stamp set (wood mount and clear mount) which is available as one the hostess rewards from Stampin’ Up!

Stampin’ Up! items used to create card #2:
Stamp Sets: Morning Meadow (129678); Perfect Pennants (133230)
Dies, Punches, & Embossing Folders: Fancy Fan Textured Impressions Embossing Folder (127751); Pansy Punch (130698)
Card Stock & DSP: Whisper White (100730) – 5-1/2″ x 8-1/2″ card base; 3-1/8″ x 2-13/16″ panel (mat for stamped image), 3″ x 2-3/4″ panel (for stamped image), one pansy punch; Marina Mist (119682) – 5-1/4″ x 4″ panel; Soft Sky (131203) – 3-7/8″ x 5-1/8″ panel; Marina Mist Designer Series Paper (130135) – 3-1/2″ x 3″; Smoky Slate (131202) – Banner for sentiment.
Markers & Ink: Soft Sky Classic Stampin’ Pad (131181); Marina Mist Classic Stampin’ Pad (126962); Night of Navy Classic Stampin’ Pad (126970); Versamark Ink (102283)
Embellishments: White Stampin’ Emboss Powder (109132); Basic Pearls Jewel Accents (119247)
Tools: sponge daubers (102892); Big Shot (113439); Heat Emboss Tool (129053); Embossing Buddy (103083)
Adhesive: Stampin’ Dimensionals (104430); Glue Dots (103683); Multipurpose liquid glue (110755)
Serene Silhouettes Just for You (Card #3)
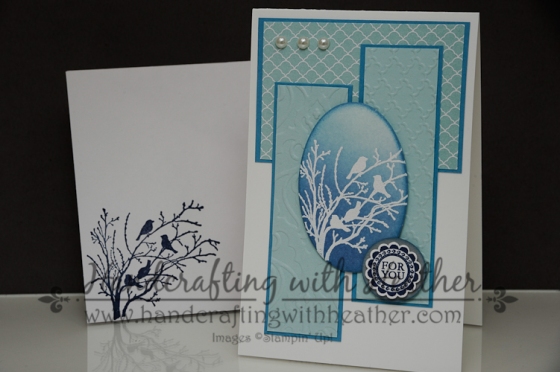
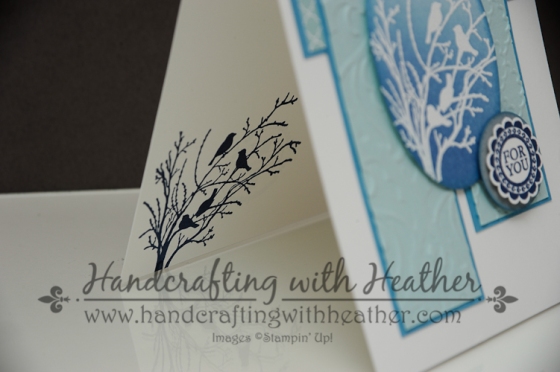
Mojo Monday sketch challenge 339, provided the inspiration for card #3. I like the variety provided by the tall and skinny design. This card was created using the Serene Silhouettes stamp set (wood mount and clear mount), and A Round Array for the sentiment (wood mount and clear mount).

Stampin’ Up! items used to create card #3:
Stamp Sets: Serene Silhouettes (127324); A Round Array (129090)
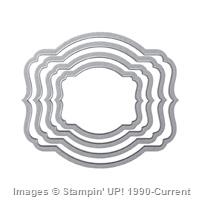
Dies, Punches, & Embossing Folders: Beautifully Baroque Textured Impressions Embossing Folder (130917); Fancy Fan TIEF (127751); Ovals Collection Framelits Dies (129381); 7/8″ Scallop Circle Punch (129404); 1″ circle punch (119868)
Card Stock & DSP: Whisper White (100730) – 3-1/2″ x 11″ card base; Oval framelits die cut (for stamped image), one 7-8″ scalloped circle punch; Marina Mist (119682) – 1-1/4″ x 4″ (2 panels), 3-1/4″ x 2-1/4″ panel; Soft Sky (131203) – 1-1/8″ x 3-7/8″ (2 panels); Soft Sky Designer Series Paper (130135) – 3-1/8″ x 2-1/8″; Smoky Slate (131202) – 1″ circle punch.
Markers & Ink: Soft Sky Classic Stampin’ Pad (131181); Marina Mist Classic Stampin’ Pad (126962); Night of Navy Classic Stampin’ Pad (126970); Versamark Ink (102283)
Embellishments: White Stampin’ Emboss Powder (109132); Basic Pearls Jewel Accents (119247)
Tools: sponge daubers (102892); Big Shot (113439); Heat Emboss Tool (129053); Embossing Buddy (103083)
Adhesive: Stampin’ Dimensionals (104430); Multipurpose liquid glue (110755)
Serene Silhouettes Thank You (Card #4)
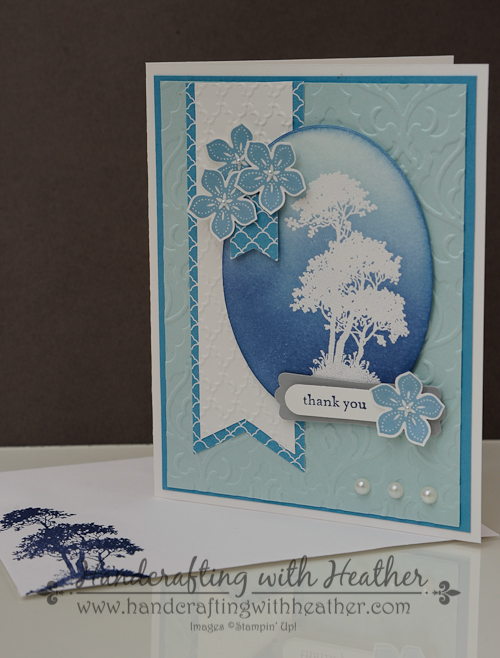

The Paper Craft Crew, sketch challenge #87, provided the inspiration for card #4. I like the variety provided by the tall and skinny design. This card was created using the Serene Silhouettes stamp set (wood mount and clear mount), Petite Petals (wood mount and clear mount) and Teeny Tiny Wishes for the sentiment (wood mount and clear mount).

Stampin’ Up! items used to create card #4:
Stamp Sets: Serene Silhouettes (127324); Teeny Tiny Wishes (127802); Petite Petals (133155)
Dies, Punches, & Embossing Folders: Beautifully Baroque Textured Impressions Embossing Folder (130917); Fancy Fan TIEF (127751); Ovals Collection Framelits Dies (129381); Hexagon Punch (130919); Banner Punch (133519); Modern Label Punch (119849); Word Window Punch (119857); Petite Petals Punch (133322)
Card Stock & DSP: Whisper White (100730) – 5-1/2 x 8-1/2″ card base; 1-1/8″ x 4-1/2″ (banner), one word window punch, 4 petite petals punches, Oval framelits die cut (for stamped image); Marina Mist (119682) – 4″ x 5-1/4″ panel; Soft Sky (131203) – 3-7/8″ x 5-1/8″ panel; Marina Mist Designer Series Paper (130135) – 1-1/2″ x 4-3/4″ (banner); Smoky Slate (131202) – one modern label punch.
Markers & Ink: Soft Sky Classic Stampin’ Pad (131181); Marina Mist Classic Stampin’ Pad (126962); Night of Navy Classic Stampin’ Pad (126970); Versamark Ink (102283)
Embellishments: White Stampin’ Emboss Powder (109132); Basic Pearls Jewel Accents (119247)
Tools: sponge daubers (102892); Big Shot (113439); Heat Emboss Tool (129053); Embossing Buddy (103083)
Adhesive: Stampin’ Dimensionals (104430); Multipurpose liquid glue (110755)
If you enjoyed my post today, please pin it to Pinterest for me. You will find a “pin it” button at the very bottom of the post. Also, don’t forget to leave me a comment for your chance to win a free stamp set from Sale-a-bration!
____________________________________________________________
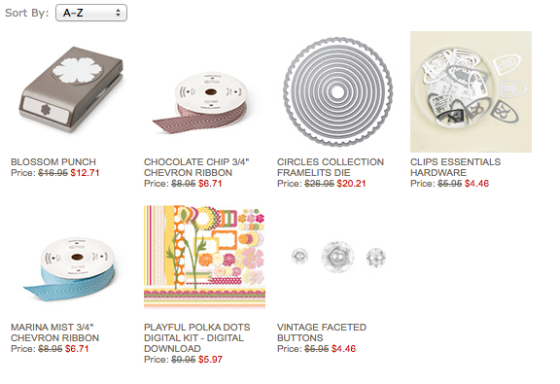
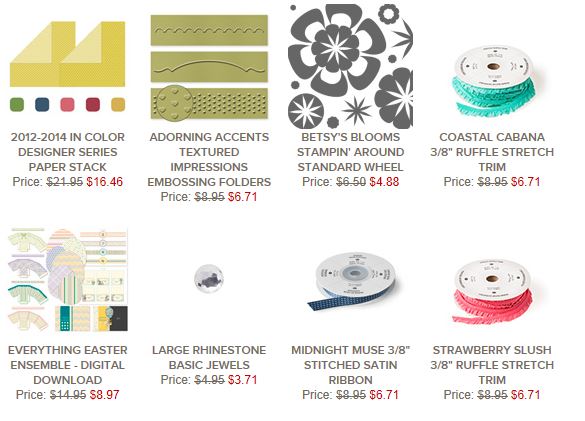
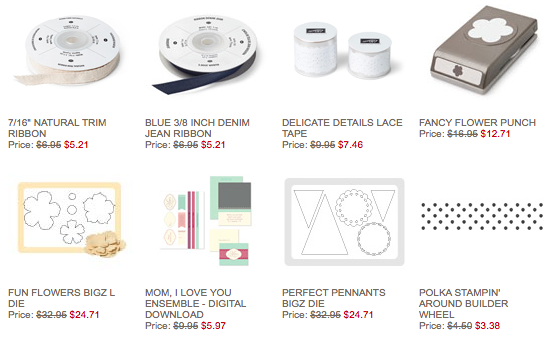
WEEKLY DEALS from Stampin’ Up! April 1-7
Click here to see the Weekly Deals from Stampin’ Up! in my online store. The Weekly Deals are only while supplies last and only available at these great prices through April 7.
________________________________________________________________________________________
If you need any stamping supplies, I’d be very happy to be your Demonstrator. Just click on Order Stampin’ Up! Online Now in the main menu or in the sidebar to go directly to my online store or drop me an email if you have any questions.
Happy Stamping!
Heather
- Visit my online store here.
- Shop the Clearance Rack here.