
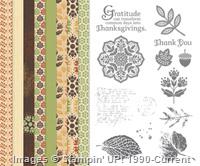
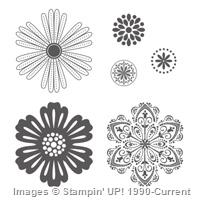
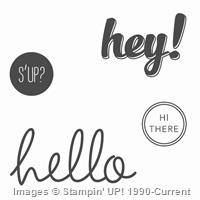
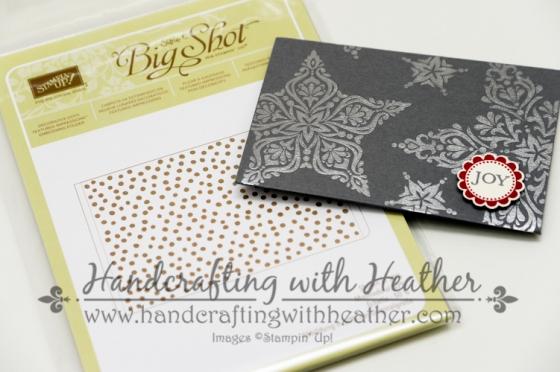
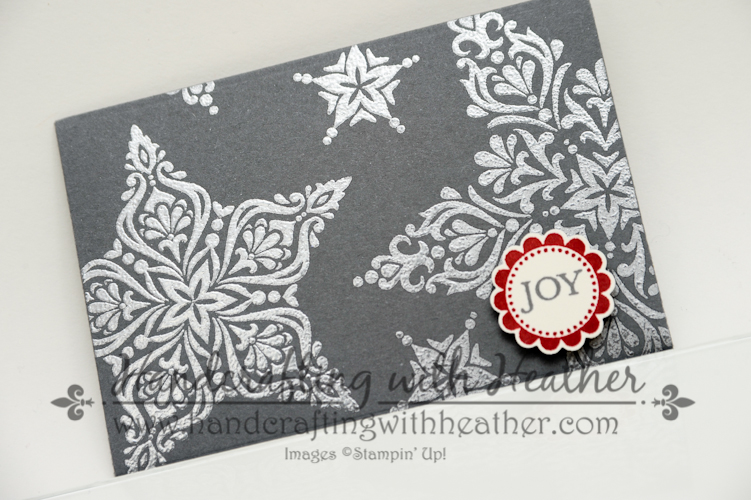
Today’s project is another boxed set of cards featuring the Mixed Bunch stamp set from Stampin’ Up! (As you can tell, I’m on a mission to get all of my son’s teacher gifts knocked out!) I was inspired to create these cards by a video I saw created by Brandy Cox (www.brandyscards.com). I changed the stamp sets and punches to suit what I had in my collection, but the basic design is the same. I love the simple elegance of the black and white color scheme.
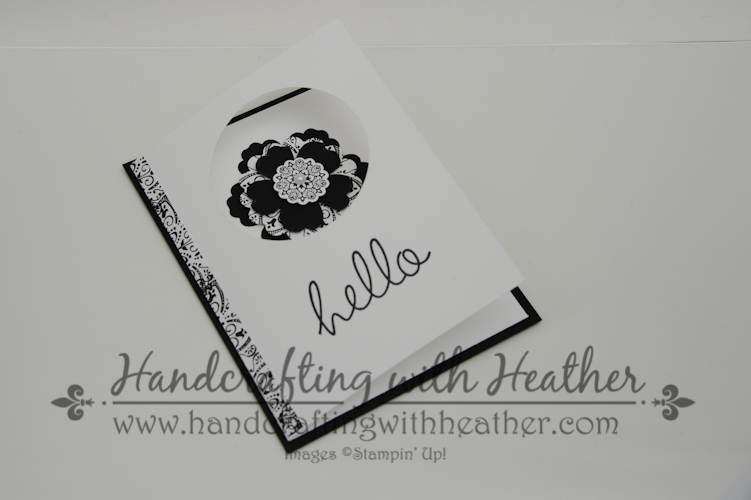
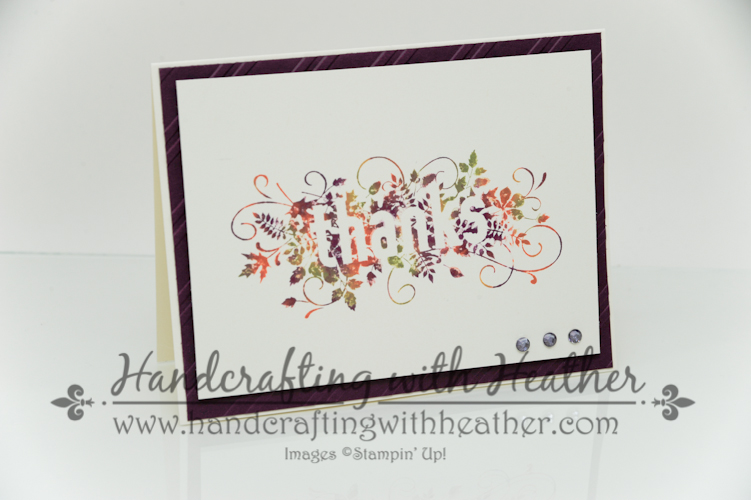
This card is an easy one to do “assembly line” style to create multiple cards with the same design, which makes it ideal for creating a boxed set. The base of the card is a black panel with a smaller white card glued on top. This allows for the look of a colored card base, but allows you to cut down on supplies. The Whisper White card stock is very economical for making a large number of cards, which is a nice benefit of this design.

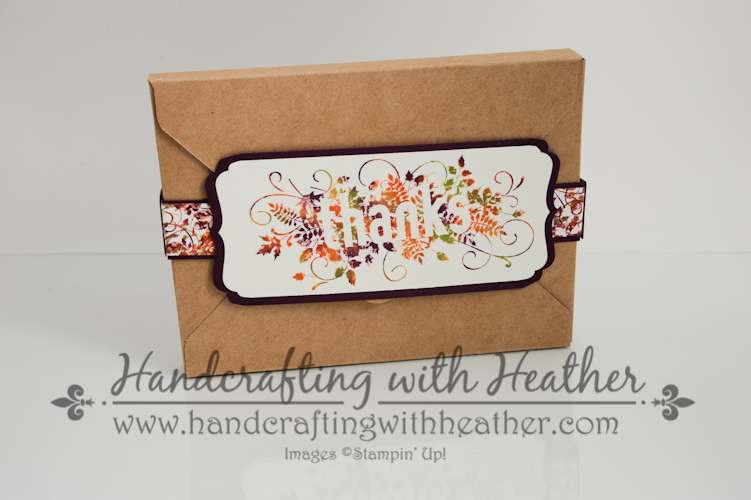
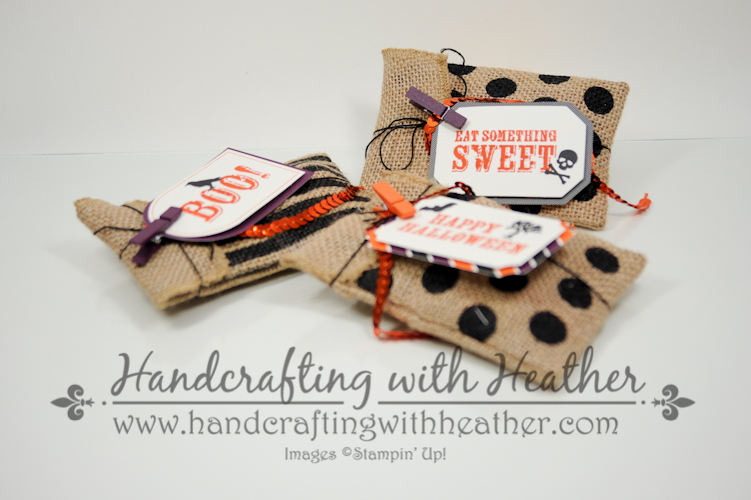
I created a belly band for my box and stamped the envelopes so that they would coordinate beautifully with the cards. For directions on creating the box, click here.

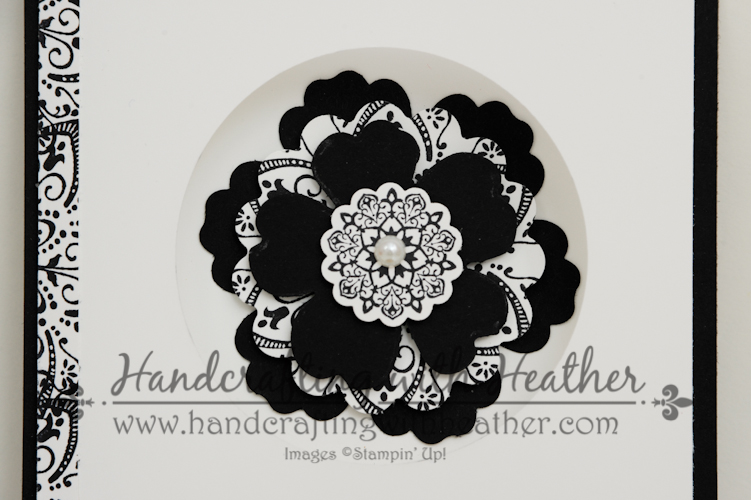
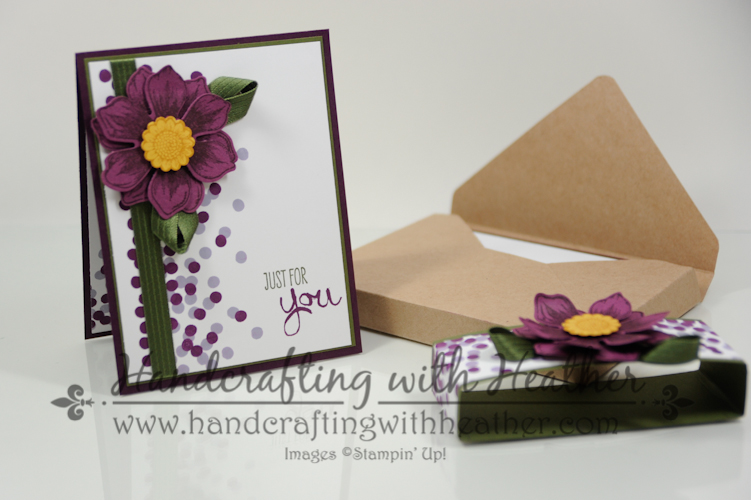
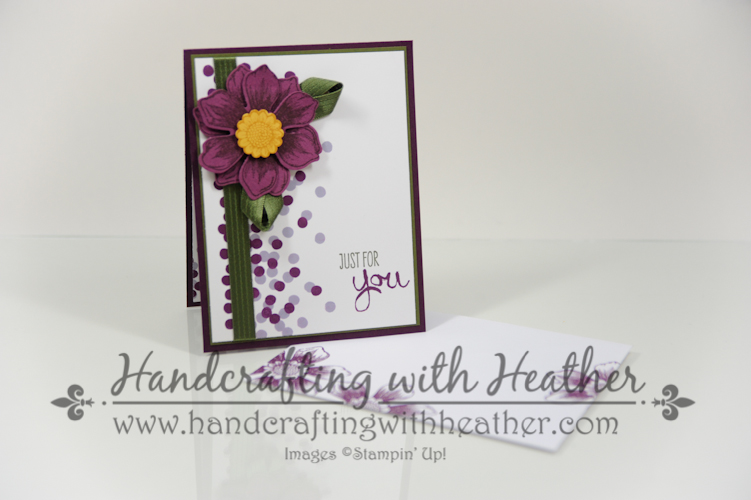
I used the 2-1/2″ circle punch to create a hole in the front of the card, and then glued this beautiful black and white flower to the inside of the card. The flower features the following elements:
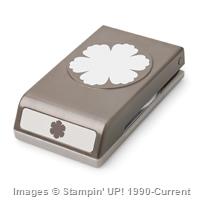
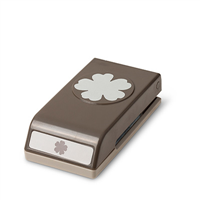
- Blossom Punch – Basic Black card stock
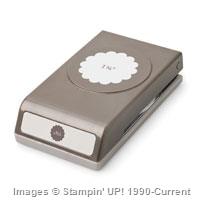
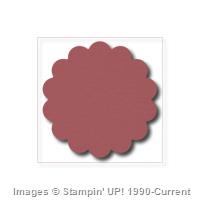
- 1-3/4″ Scallop Circle Punch – Whisper White stamped with flower from Mixed Bunch (these don’t line up, but I just wanted the design from the flower stamp, so it didn’t matter).
- Pansy Punch – Basic Black card stock
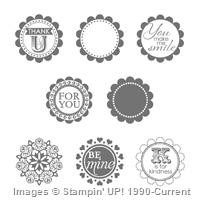
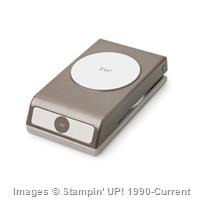
- 7/8″ Scallop Circle Punch – Whisper White stamped with medalion from A Round Array stamp set.
- Large Basic Pearl (or rhinestone)
Another neat element of this card is the “ribbon” along the left edge. I created this by stamping scrap strips of whisper white card stock using the flower from Mixed Bunch. I think it adds an element of elegance and is a great way to use up all those little scraps you have lying around.

I think this set is just beautiful. I’m a sucker for a black and white color scheme, and I like how these cards can be used for a variety of occasions. If you like this project, I hope you will pin it to Pinterest for me. You will find a “pin it” button at the end of this post below the supply list.
Also, Please consider selecting me as your demonstrator for your stamping needs. I would love the opportunity to earn your business. If you need any supplies you can shop now in my online store! Feel free to drop me an email if you have any questions or if you would like a catalog. I’m here to help!
Happy Stamping!
Heather
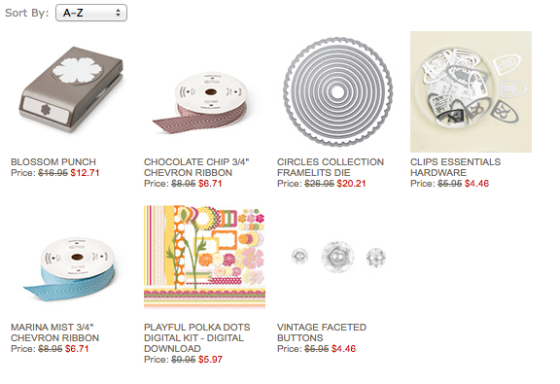
New Weekly Deals From Stampin’ Up! Nov. 18-24
Click the images below to order the weekly deal products from my online store. The Weekly Deals are only while supplies last and only available at these great prices through November 24th.
Built for Free Using: My Stampin Blog
Stampin’ Up! Products Used for Today’s Project
If you would like to order any of the products featured in today’s project, click the images below to order from my online store.


Built for Free Using: My Stampin Blog
Card Stock Cuts
“Post Card” Style Base: Basic Black- 4-1/4″ x 5-1/2″
Folded White Card Base: Whisper White – 8″ x 5-1/4″ (scored at 4″)
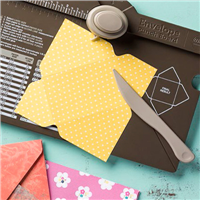
Card Box: Kraft – 9″ x 9″
Belly Band: Basic Black – 11″ x 7/8″ strip; Whisper White – 11″ x 3/4″ strip.


