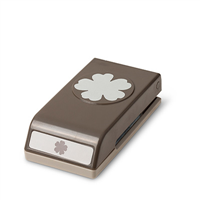
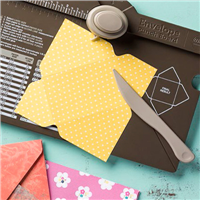
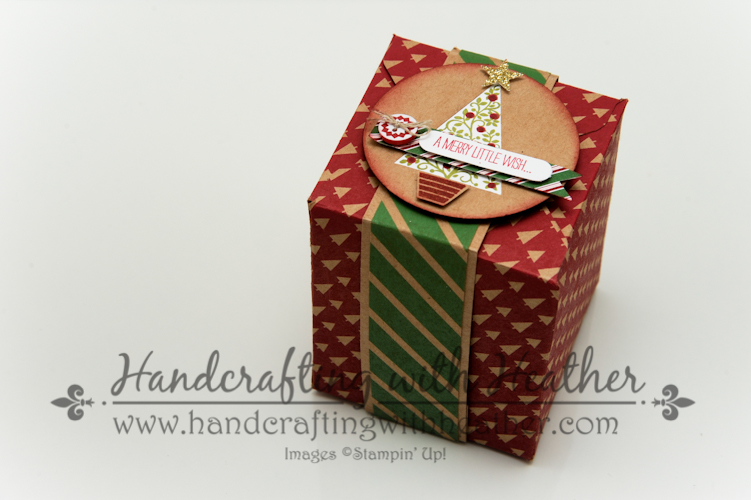
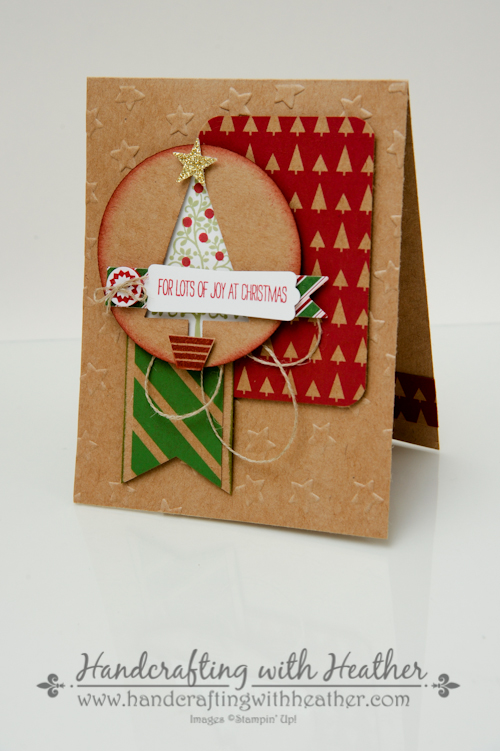
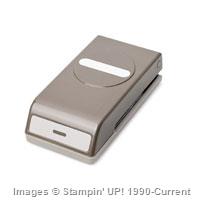
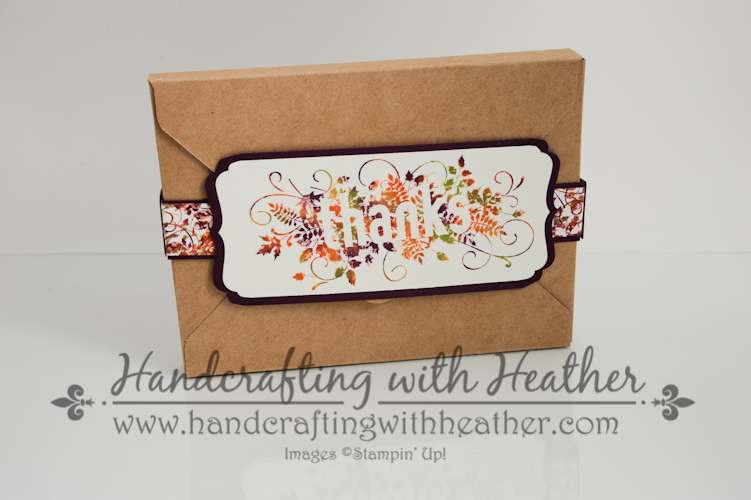
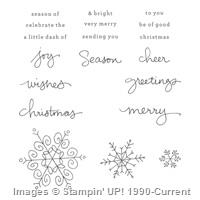
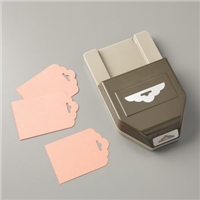
For today’s project, I created a tag using the Endless Wishes photopolymer stamp set from Stampin’ Up! I attached the tag to a gorgeous gold box that I created using one of my favorite new tools, The Gift Box Punch Board! I have been having so much fun playing with that thing!

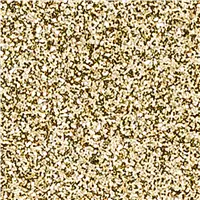
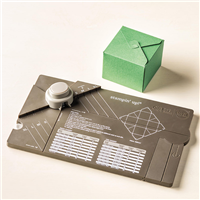
This box was created using some sparkly gold card stock that I had on hand, but it would be even prettier made with Gold Glimmer Paper from Stampin’ Up! This box follows the directions for a 4″ x 4″ x 4″ cube that are printed right on the front of the Gift Box Punch Board.

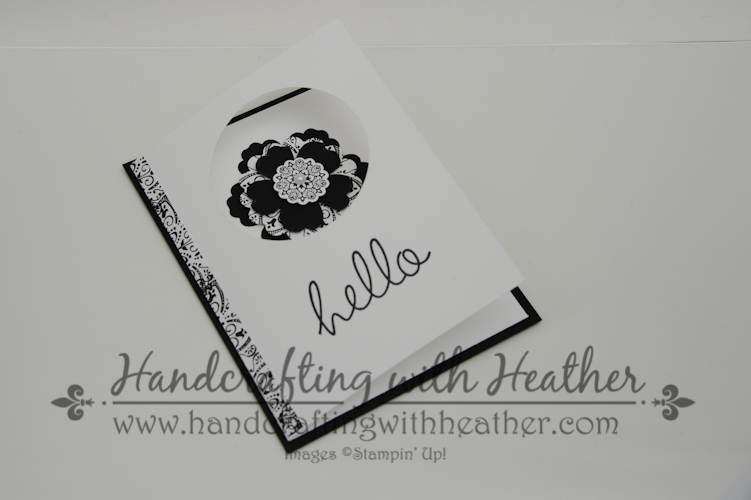
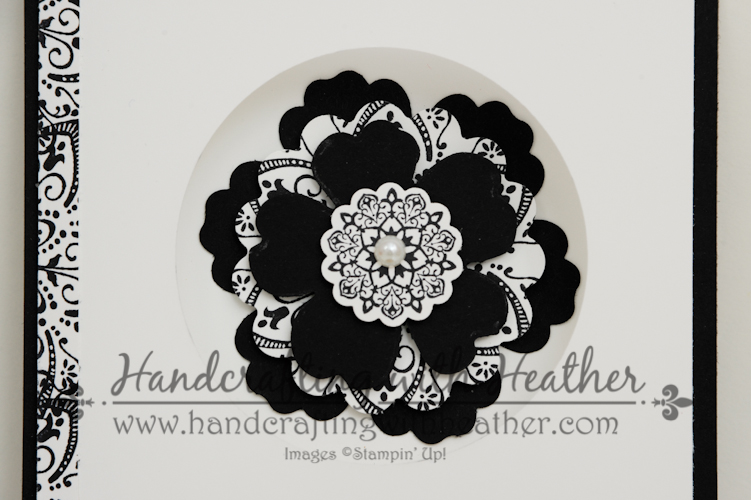
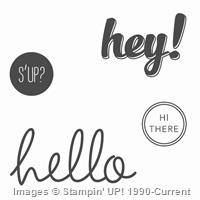
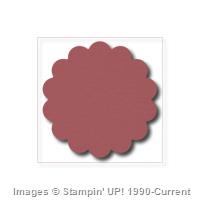
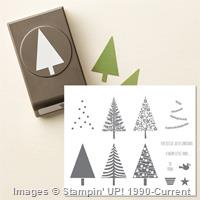
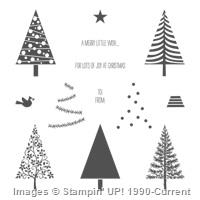
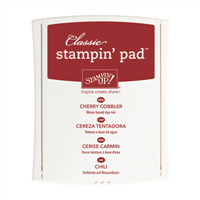
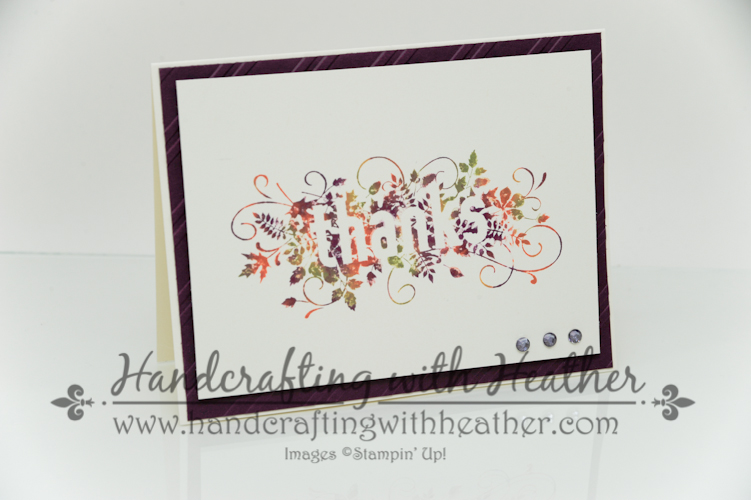
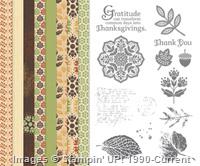
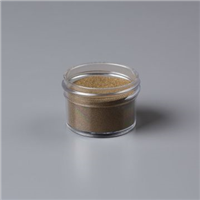
For the tag, I stamped the images from the Endless Wishes photopolymer stamp set on a Cherry Cobbler tag. I used Versamark ink and then heat embossed it with Gold Stampin’ Emboss Powder. Notice how I was able to curve the words “celebrate the” around the word “season.” This is one of the great things that is possible with photopolymer stamps!
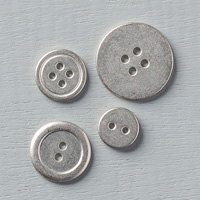
I finished everything off by adding a layer of gold foil behind my tag, popped on a little star, and tied the whole package up with a gorgeous Cherry Cobbler Sheer Linen Ribbon bow.
I love that I will be able to put this package under the tree without any additional wrapping, and the recipient will treasure the packaging as much as the contents! I don’t know about you, but at my house we have a “box stash” that gets recycled from year to year. I imagine this beauty will get added to the collection. If you like this project, I hope you will pin it to Pinterest for me. You will find a “pin it” button at the end of this post below the supply list.
Also, Please consider selecting me as your demonstrator for your stamping needs. I would love the opportunity to earn your business. If you need any supplies you can shop now in my online store! Feel free to drop me an email if you have any questions or if you would like a catalog. I’m here to help!
Happy Stamping!
Heather
Online Extravaganza begins tonight! Monday, November 24th – December 2*
*Sale begins 2:01 a.m. ET November 24th and runs until 1:59 a.m. ET on December 3rd.

You won’t want to miss out on this enormous SALE from Stampin’ Up! In addition to lots of products that are 20% – 30% – 40% or 50% off, there are also special Door Buster Deals that are good only on the first and last day of the sale. That’s Monday, November 24th and December 1st only… and only while supplies last! Click here to see the complete list of discounted items.
Holiday Sign Up Special… The Best Bang for your Buck!
Purchase the Demonstrator Kit for these additional specials:
- Pick $125.00 for $74.25**(regular price $99.00 – 25% discount**)
- Choose the sale items as part or all of your starter kit (or any regular catalog items)
- Your New Demonstrator kit is Free Shipping (an additional 10% savings)
- You receive 20% off on all future orders
- You receive a bonus 5% Cash Back from All December Sales**
- click here for more details and to purchase your Demo Kit
** 25% discount on sign up and 5% cash back bonuses when you join between Nov 24 – Dec 2 only
New Weekly Deals From Stampin’ Up! Nov. 18-24
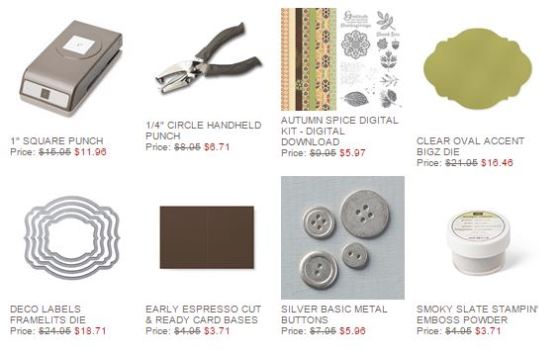
Click the images below to order the weekly deal products from my online store. The Weekly Deals are only while supplies last and only available at these great prices through November 24th.
If you would like to order any of the products featured in today’s project, click the images below to order from my online store.


Built for Free Using: My Stampin Blog