I’ve really been enjoying learning how to use alcohol markers as I play with my new Stampin’ Blendabilities. These markers are a new line of product that will be introduced with the 2014 annual catalog on June 2nd. Unfortunately, there has been a delay for their initial release, so they will not be available for purchase right away, but I’m so excited about them that I wanted to show some of the wonderful effects you can achieve with these fantastic markers. I will keep you updated about exactly when they will be available. In the meantime, I’ve created a video tutorial for you that compares two different coloring techniques for alcohol based markers.

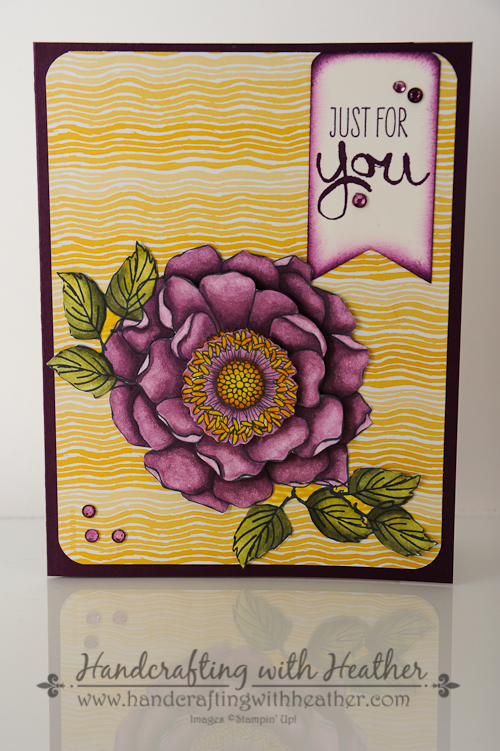
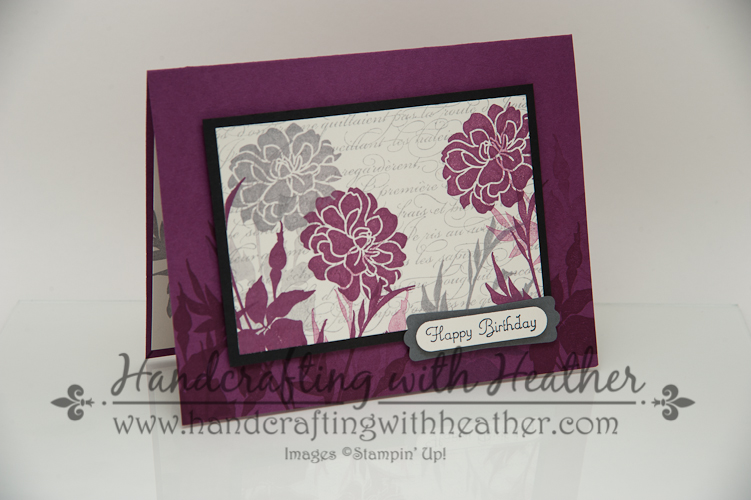
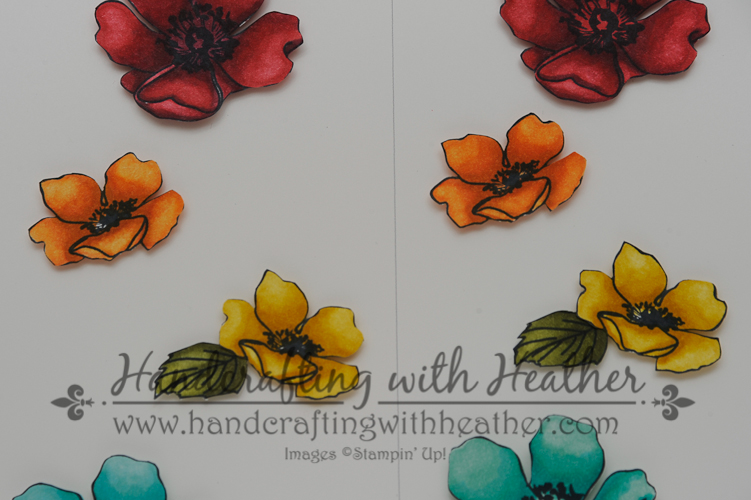
There isn’t a right or wrong way to use these markers. Some people recommend coloring your lightest shade first and then moving to the darkest, others recommend going dark to light. It is really a matter of personal preference. As I explored with these markers this week, I tried both techniques out with each color set. Here you can see the results.
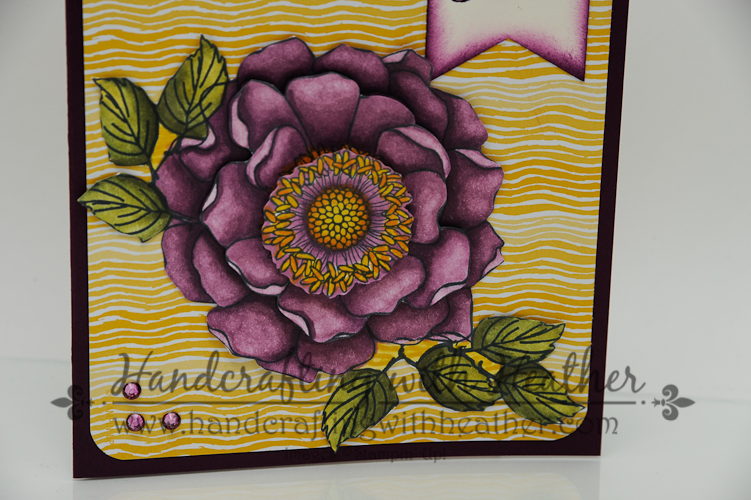
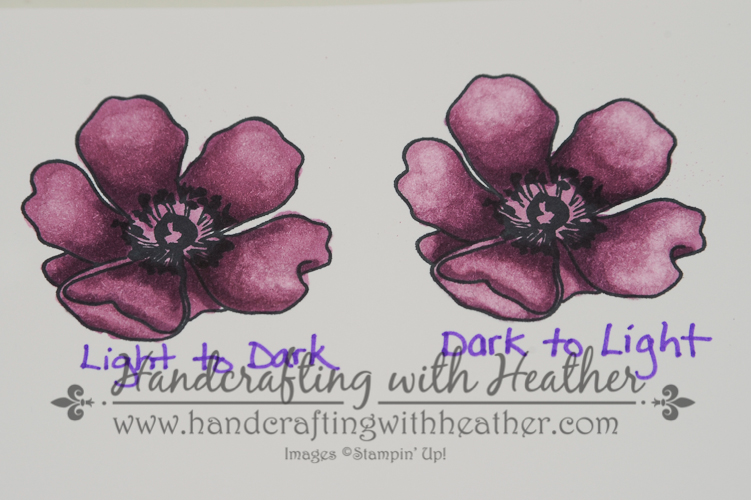 I have found that the darker the color, the more difference you can see between the two techniques. I prefer coloring the darkest shade first because I think I am able to get greater contrast in my colors using that method. Let me show you what I mean.


What Sets Blendabilities Apart:
- The Stampin’ Up! rectangular barrel keeps your markers from rolling away!
- Flat storage helps to maintain the life of each marker.
- Each marker comes with a tip on each end: brush and fine.
- Marker tips are made of nylon, which is superior to polyester which can fray.
- Color coded caps.
- Stampin’ Up! markers coordinate wonderfully with our cardstock, and can be used with transparent sheets.
- Blendabilities are alcohol based, which makes them colorfast and allows them to blend with each other beautifully.
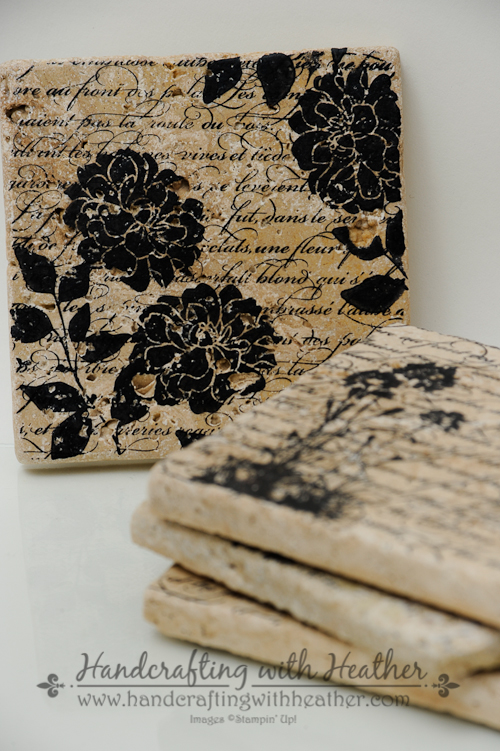
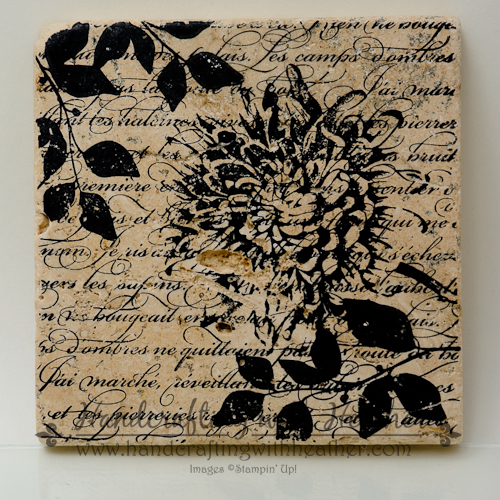
- You can color on anything… rhinestones, buttons, window sheets, etc.
- Blendabilities marker sets, come in a 3-pack of light, medium and dark shades (of the same color )
- Blendabilties provide your projects a more saturated look with blended colors

I hope you have enjoyed my tutorial today. I certainly had fun exploring all the different ways to color with my Blendabilties! If you like this post, please pin it to Pinterest and leave me a comment. You will find a “pin it” button at the very bottom of this post.
If you find inspiration from this blog, one way you can show your support is by selecting me as your personal Stampin’ Up! Demonstrator. If you need any stamping supplies you can shop now in my online store! I’ve received the new annual catalogs from Stampin’ Up! and I will be mailing out complimentary copies to all my customers who place an order of $25 or more during the month of May! Feel free to drop me an email if you have any questions. I’m here to help!
Happy Stamping!
Heather
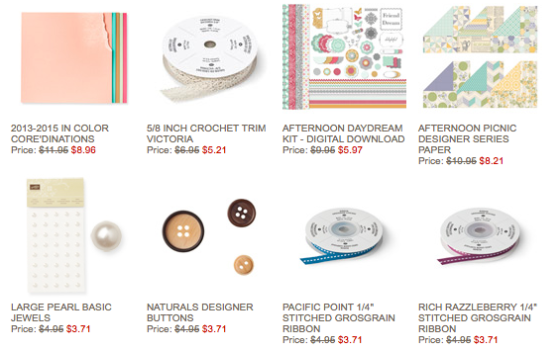
WEEKLY DEALS for May 13-19

Click here to see the Weekly Deals from Stampin’ Up! in my online store. The Weekly Deals are only while supplies last and only available at these great prices through May 12.
Retiring Products- Less than Two Weeks Left!

There are only two weeks left to get retiring products before they’re gone for good! Be sure to order now in my online store so you don’t miss out on these great products! Many of the retiring products from Stampin’ Up! have already sold out! Be sure to check out the links below to check to see which items are still available. Stampin’ Up! is updating these lists daily to tell us which items are gone. The last column has a little “x” next to the products that are no longer available. If you want any of the products on the retiring list, be sure to order soon, so you don’t miss out!
- Retiring Stamps (Available April 21-June 4, 2014, or while supplies last)
- Retiring Accessories (Available April 21-June 4, 2014, or while supplies last)
If you need any stamping supplies, I’d be very happy to be your Demonstrator. Just click on Order Stampin’ Up! Online Now in the main menu or in the sidebar to go directly to my online store or drop me an email if you have any questions.