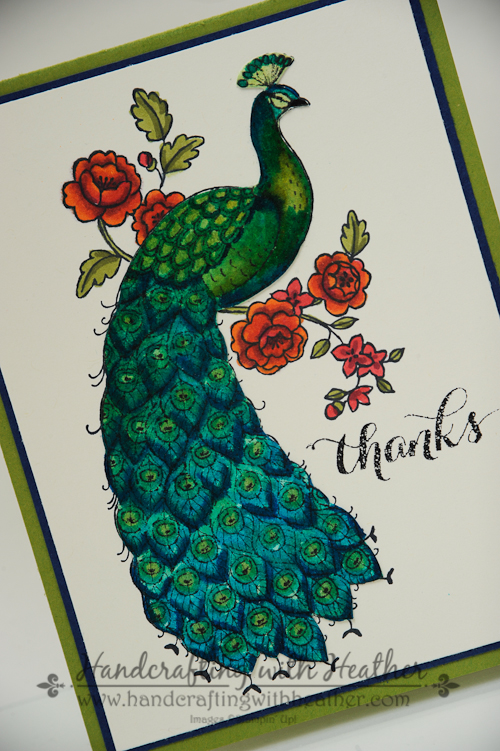
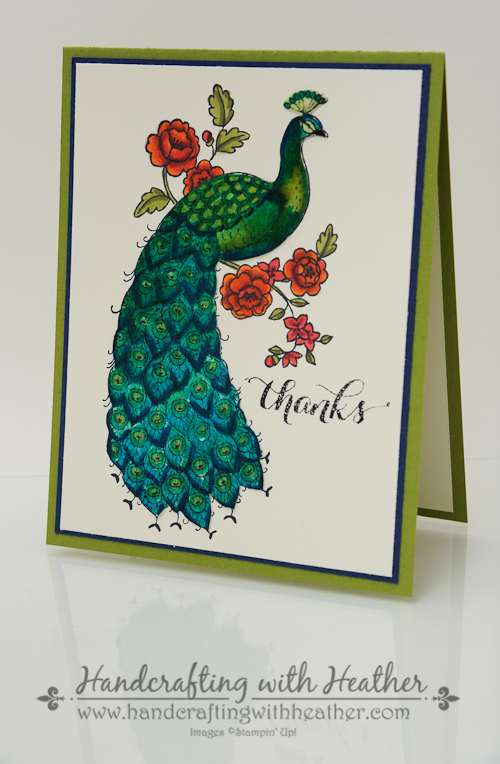
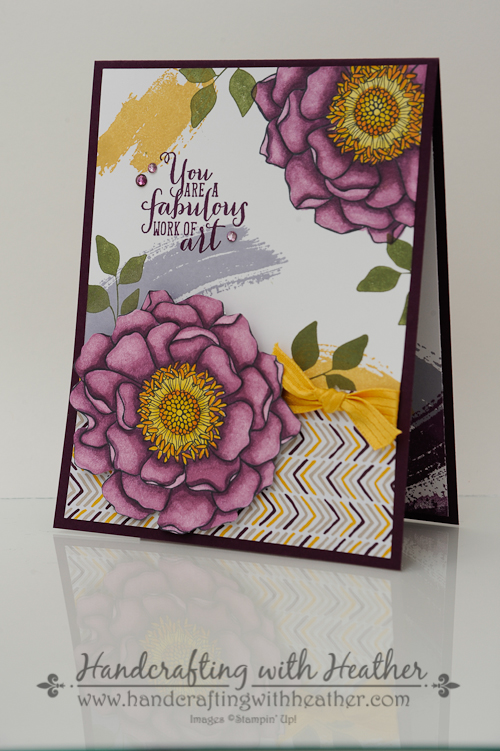
My sister is getting married in a couple of weeks and I am throwing her a bridal shower. I’m having such a blast creating all the details to make this event special. You can expect to see several wedding themed posts coming in the near future! For today’s project, I used the Girls’ Night Out stamp set from Stampin’ Up! to create this elegant invitation for the bridal shower.
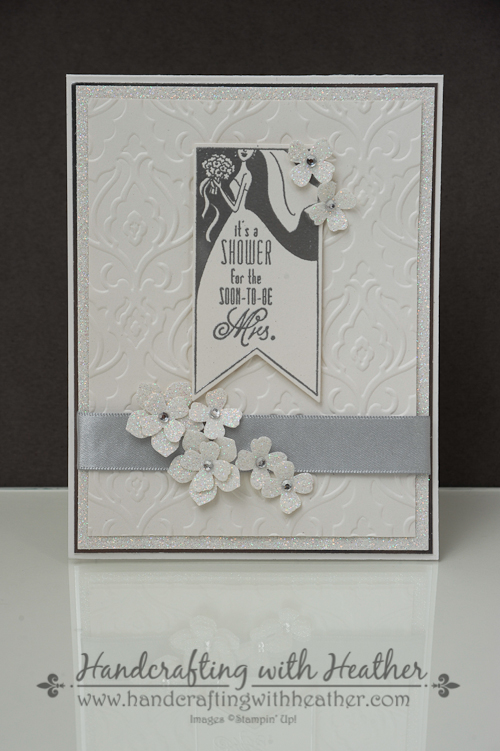
I just love how this turned out. You can’t really see it well in the picture, but the Silver Foil and the Dazzling Diamonds Glimmer Paper add a lovely sparkle to this card. I just know the guests will love getting this one in the mail.

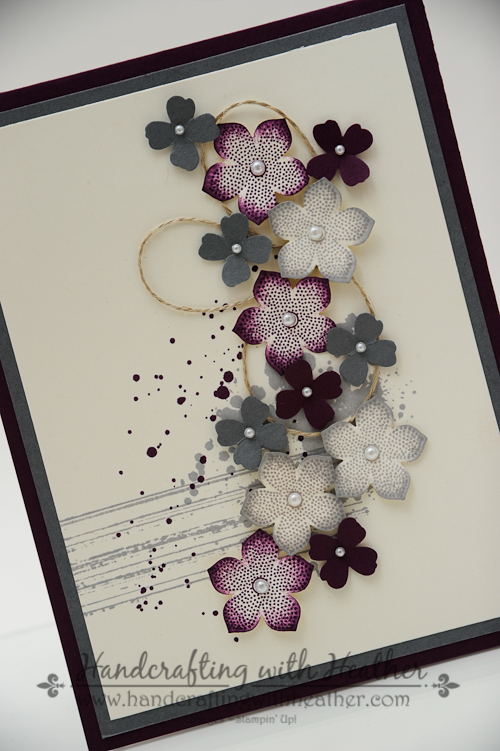
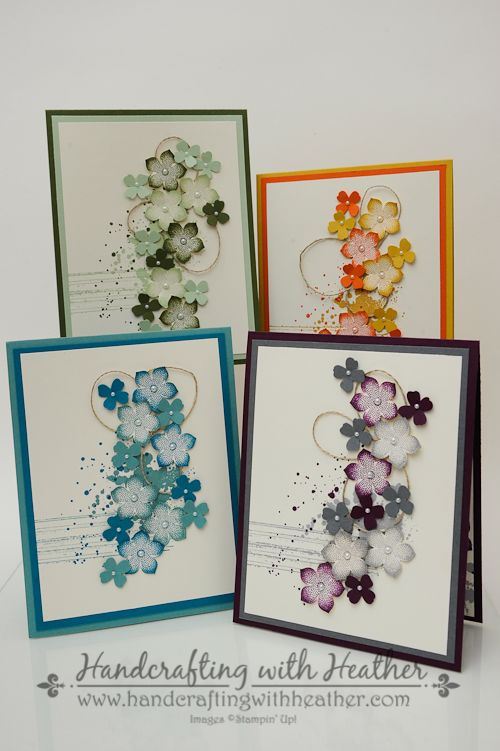
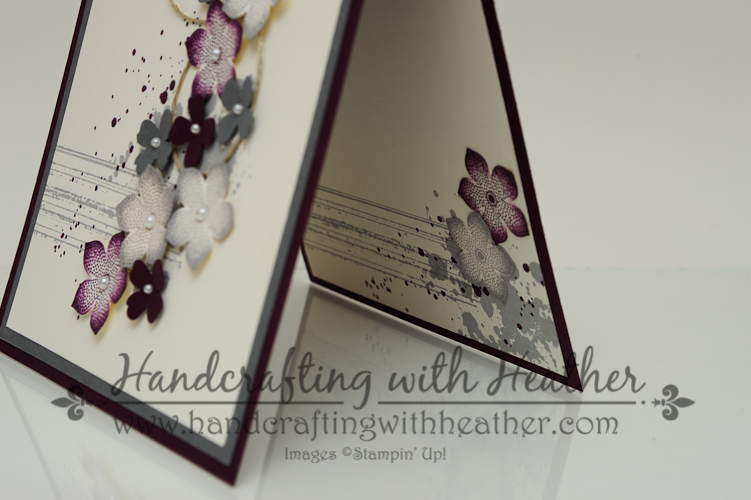
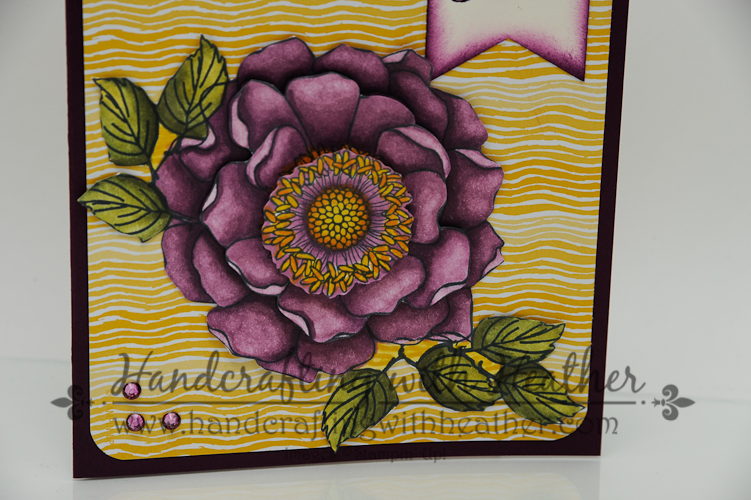
I dry embossed a panel of Shimmery White card stock using the Beautifully Baroque embossing folder to give the card face an added element of elegance. Then I stamped the bride image from Girls’ Night Out using Versamark ink and heat embossed it with Silver Stampin’ Emboss Powder. I cut out the sentiment using the Banner Framelits Die and my Big Shot. Then I added it to the front of my card with Stampin’ Dimensionals.
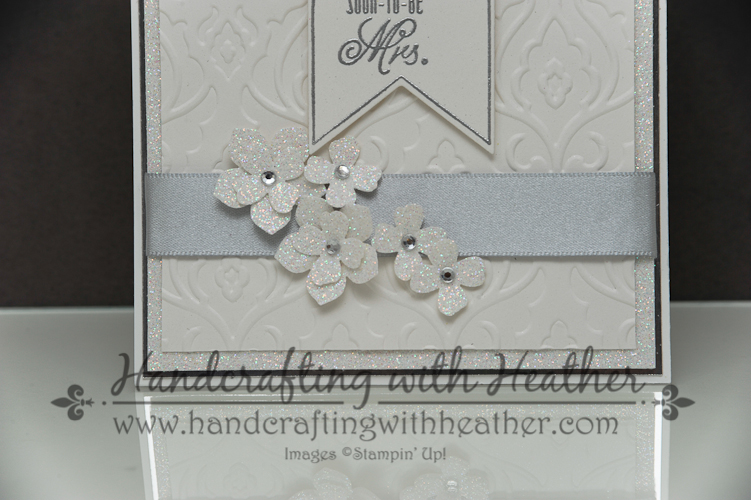
I added a length of Silver Satin Ribbon, which is just glorious! Then I punched some flowers using the Dazzling Diamonds Glimmer paper and my Petite Petals Punch and the Itty Bitty Accents Punch Pack. Finally, I glitzed them up a bit more with some Rhinestone accents, which tied everything together just perfectly.

I know my sister and her friends are going to love this invitation. It is the perfect start to what I hope will be a really fun evening with my favorite bride!
I love Pinterest, don’t you? Please pin this project if you love it as much as I do. You will find a “pin it” button at the bottom of this post below the supply list and card stock cuts. Also, please subscribe to my blog via email by clicking on the “follow” button if you are a fan of my work.
I hope you will consider selecting me as your demonstrator for your stamping needs. I also offer free catalogs to all of my customers. If you are my customer or want to be my customer, please email me your name and mailing address. I’ll be more than happy to send you the gorgeous book. You can email me at handcraftingheather@icloud.com.
Also, it is not too late to sign up for my one-to-one card swap. The details and registration link are below.
If you need any supplies you can shop now in my online store! Feel free to drop me an email if you have any questions or if you would like a catalog. I’m here to help!
Happy Stamping!
Heather
Last Week to Sign Up for Only $50!
 This is the last week to take advantage of the $50 sign up special from Stampin’ Up! If you have at least $50 worth of products you would like to purchase from the new annual catalog you should really consider joining. There are many benefits of becoming a demonstrator including a great discount and access to advanced products. Did you know you could order several of the Stampin’ Blendabilities marker sets now if you were a Stampin’ Up! Demonstrator?
Now is a great time to join my team! I welcome Hobbyist Demonstrators, and during the month of June, new recruits can join Stampin’ Up! at one of two great prices. Stampin’ Up! will continue to offer their traditional starter kit priced at $99 ($125 product value + FREE Shipping), but only during the month of June they will also be offering a reduced priced starter kit at the low price of $50 ($55 product value + FREE Shipping). Drop me a note at handcraftingheather@icloud.com if you have any questions or if you’d like additional details. I’d love to have you on my team! You can read more information about the benefits of being a Demonstrator here.
2014 Annual Catalog One-to-One Swap

Just a reminder about my one-to-one swap. I hope you will join in the fun! It is so great when I get to actually connect with all of you and this is a wonderful way for us to share our inspiration and creativity with each other. To participate, you will send me one card created with current Stampin’ Up! products (no retired items please) and a self-addressed stamped envelope. Once all the swaps have arrived, I will send you someone else’s card in the mail. It’s that easy! If you have questions, please feel free to contact me at handcraftingheather@icloud.com.
To participate, please register for the event by clicking on the button below. Once registration is complete, you will receive an email with specific instructions (including the address for where to send your swaps). Projects are due in hand by July 10, 2014. I can’t wait to see what you create! Happy Stamping!
WEEKLY DEALS for June 24-30

Click here to see the Weekly Deals from Stampin’ Up! in my online store. The Weekly Deals are only while supplies last and only available at these great prices through June 30.
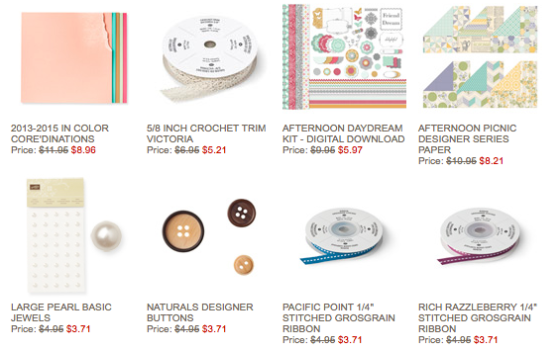
Stampin’ Up! items used to create today’s project:
If you would like to order any of the products featured in today’s project, click the images below to order from my online store.


Card Stock Cuts
Card Base: Whisper White – 4-1/4″ x 11″
Panels: Silver Foil – 4-1/8″ x 5-3/8″ panel; Dazzling Diamonds Glimmer Paper – 4″ x 5-1/4″ panel; Shimmery White – 3-3/4″ x 4-7/8″ panel
Sentiment & Die Cuts: Banner Framelits die cut (3rd from center).